
How to organize an art studio at home
An art studio is a space where an artist can work on their craft. An art studio can be any type of space, it can be a bedroom, an office space, a designated rented room, a warehouse, etc. The art studio is seen as a magical place where ideas come to life (and to die sometimes) but also where a lot of the menial tasks of artmaking happen.
Famous artists’ art studios have become a place of pilgrimage and awe, a window into the artists’ minds. The history and evolution of the art studio can be traced back to the Renaissance when apprentices learned from masters in their workshops.

According to Ian Wallace, “Later, and further North in Europe, painters' attention shifted from the visages of their wealthy patrons to still lifes and self-portraits (though commissioned portraiture remained a staple of the artist's paycheck).” The function and use of an art studio shifted, evolved, and became an intrinsic part of the work being produced and communicated something about the artist themselves. Case in point, not all studios are introspective places for individual artists. Some art studios are run like high production shops (think of Andy Warhol’s The Factory).
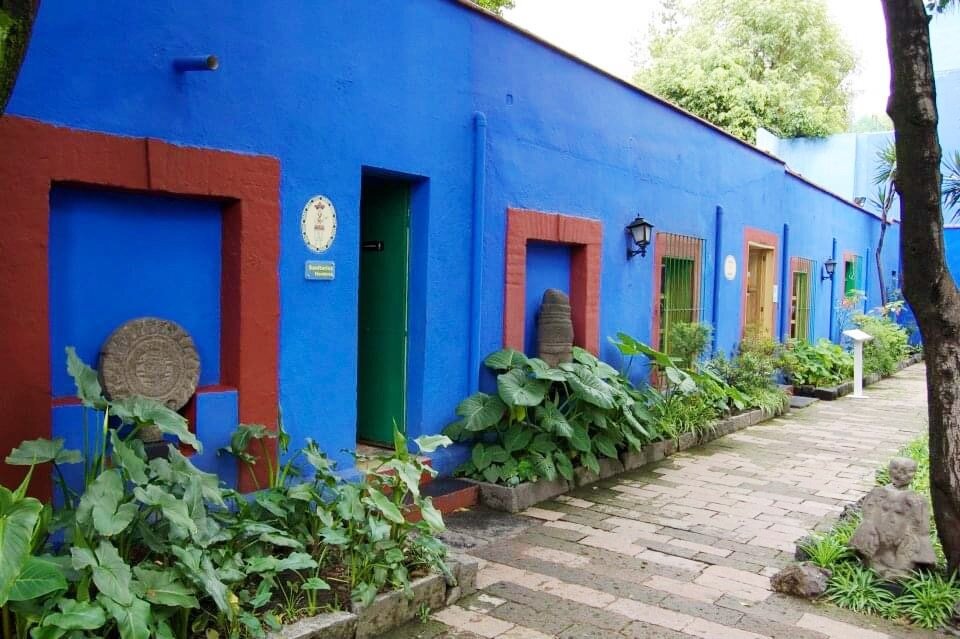
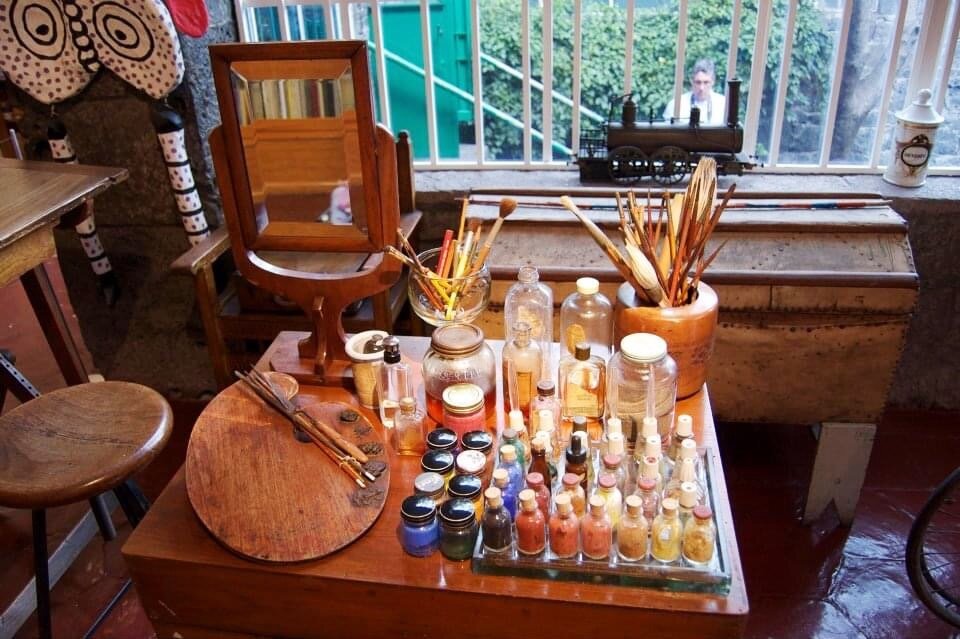
My favorite artist studio (home) is definitely Frida Kahlo’s Casa Azul.


Unfortunately, I don’t have a picture of all the spaces I have used as studios, but I will show you my current space
My art studio evolution
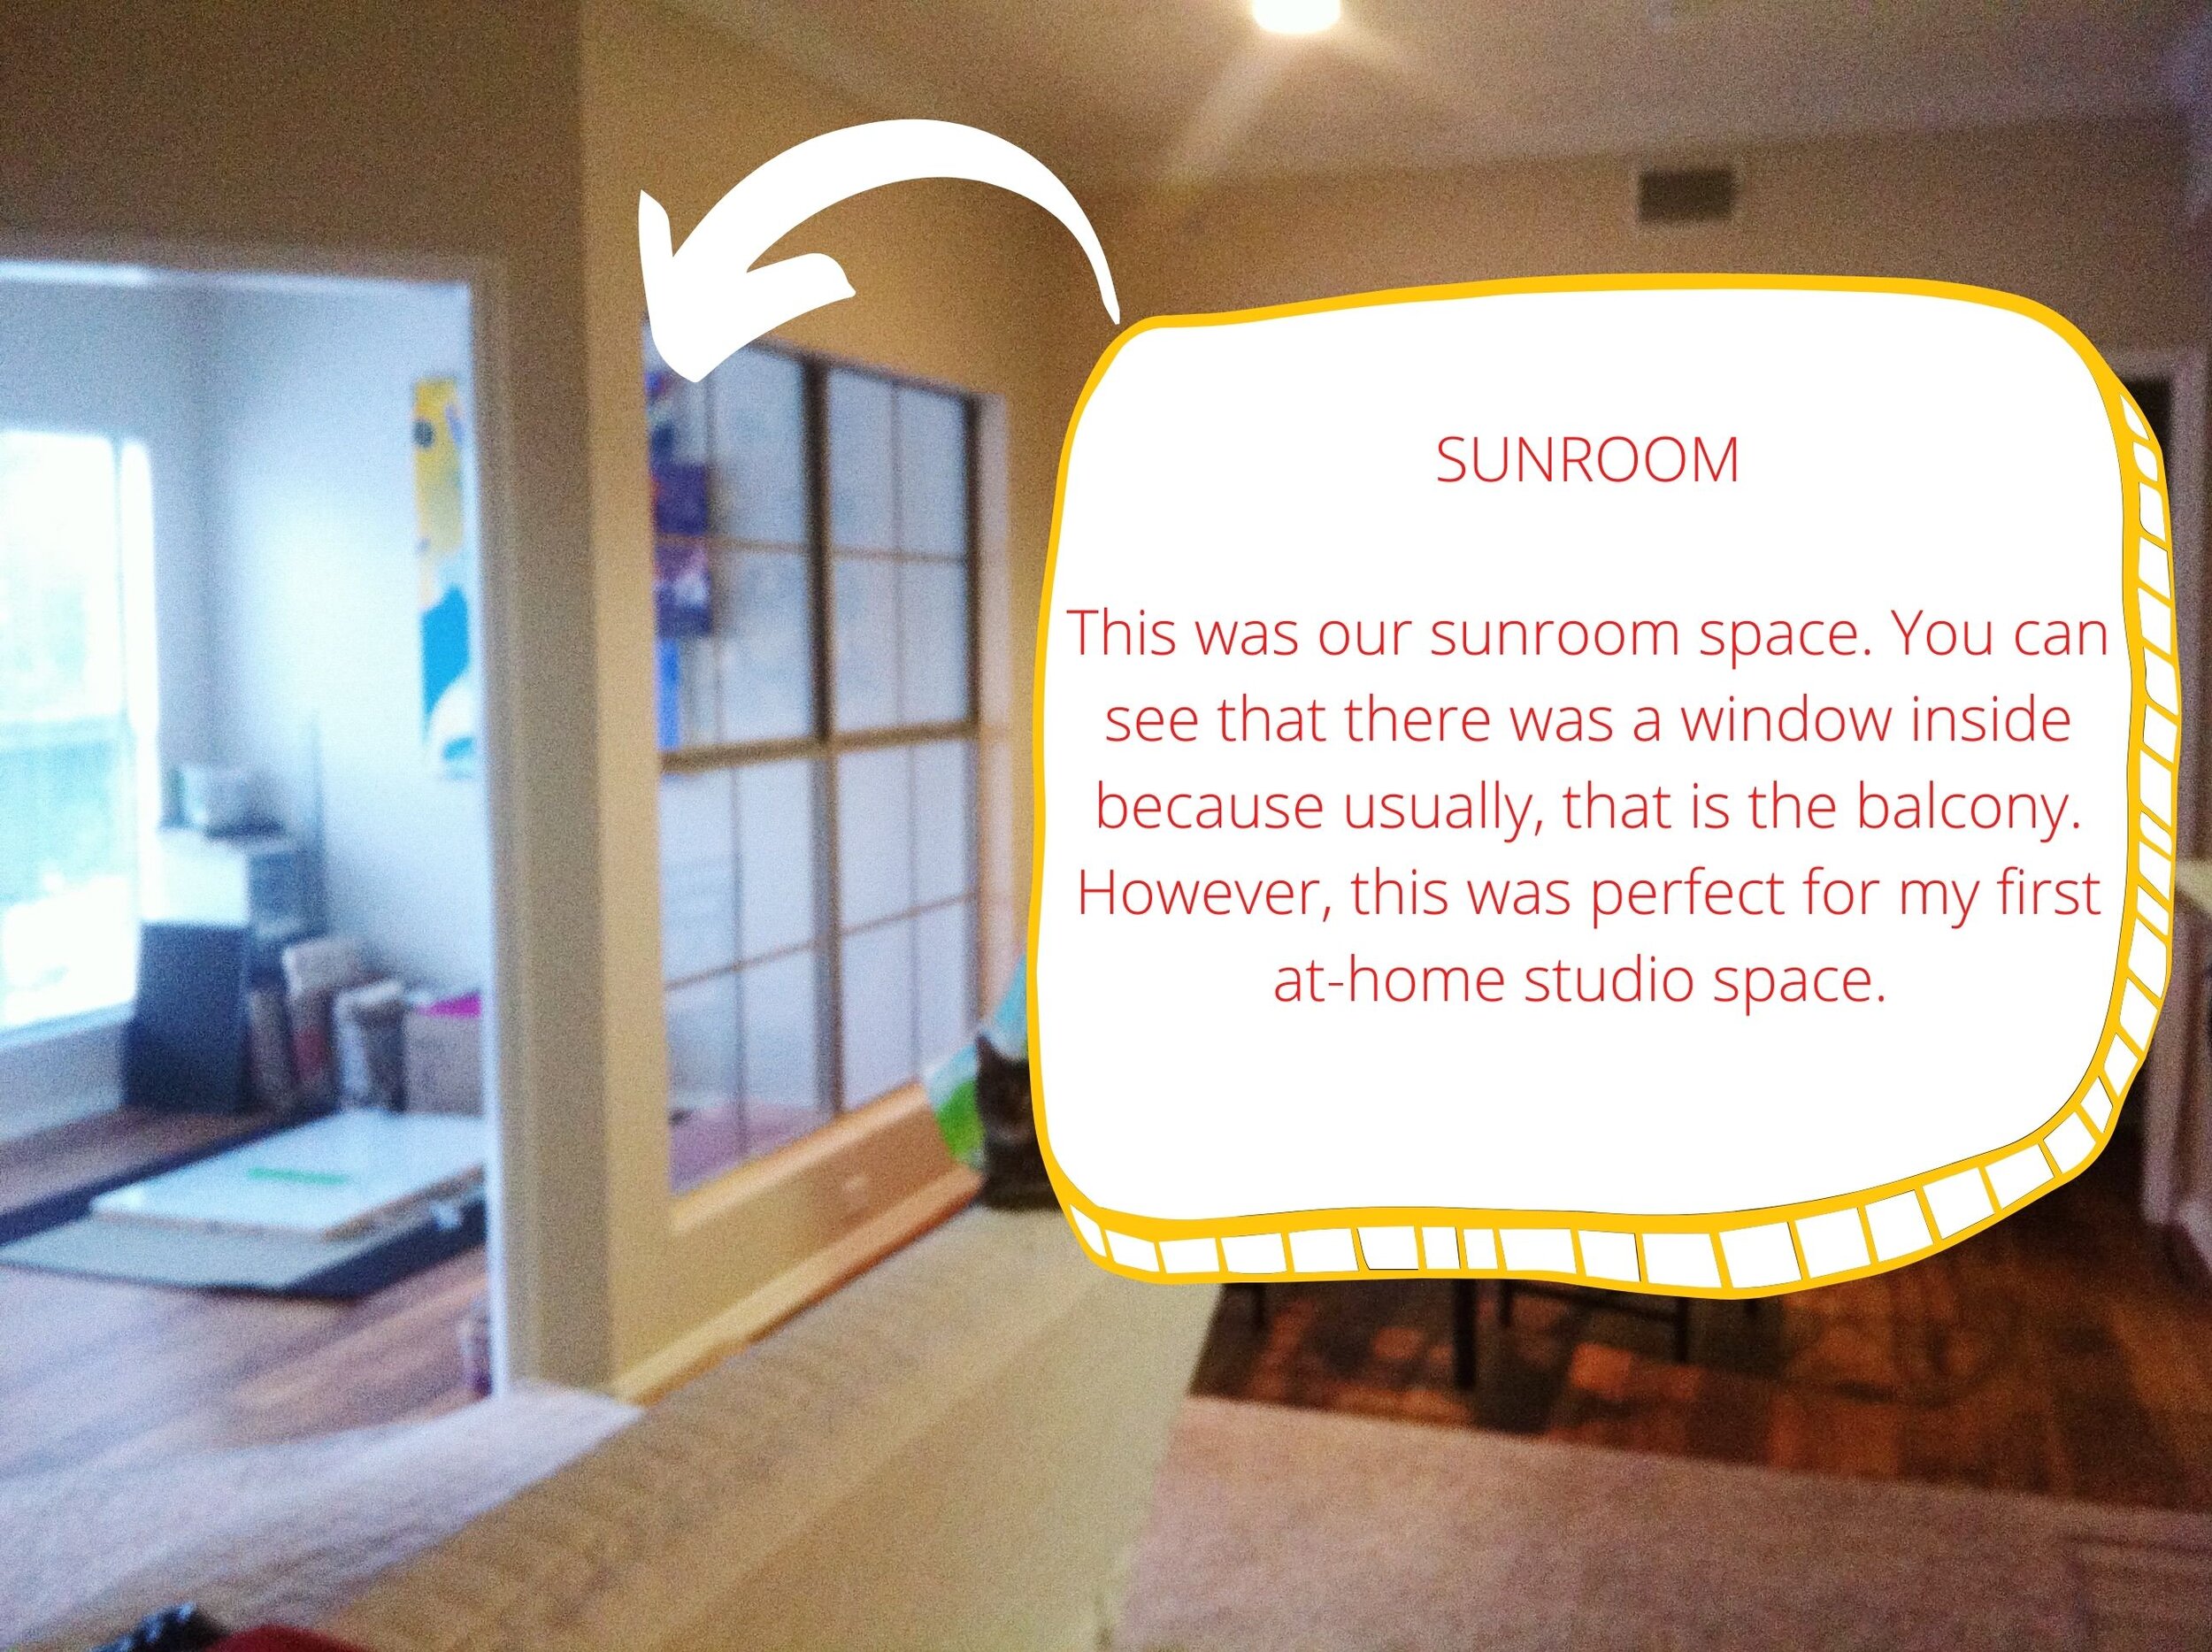
My first art studio was at home, in our small apartment. Our apartment had a room called a sunroom; essentially the balcony space was inside the apartment. This was so exciting for me! My first dedicated space for artmaking! At that time, I was doing a lot of screen printing, so having a really big window made the room look bigger. The challenge was washing all my supplies. I had to either use the kitchen sink, the bathtub, or a bucket.
My second art studio was in a car garage.; we were renting a one-car garage for this particular apartment. I was not able to have studio space inside the apartment because there was literally no space, so I decided to move all my stuff to the garage. Now, there was no fan, no heater, and the light kind of sucked. Therefore, I had to work with the garage door open or turn a little desk lamp on.
During this time, I was starting to get into block printing but specifically mokuhanga. Mokuhanga is a Japanese technique for woodblock printing that uses water-based inks. The garage was a great space for this because I could sand my blocks of wood, carve and have a relatively easy clean-up. The downside (apart from the lack of light) was that I had a limited time to work down there. The best times were early in the morning before it got too hot, and in the evening before the sun started to go down


My third art studio space was in our Texas house. When we were house hunting, I knew I wanted to be able to have a designated room for my art-making. I took over the smallest room in the house and organized my supplies and tables. For a while I had the space to myself, but then, I had to share it with my husband. I was forced to really look at all my art supplies (I tend to hoard art supplies) and downsize, keeping only what I really wanted and needed. This also helped me organize all my art supplies more efficiently.
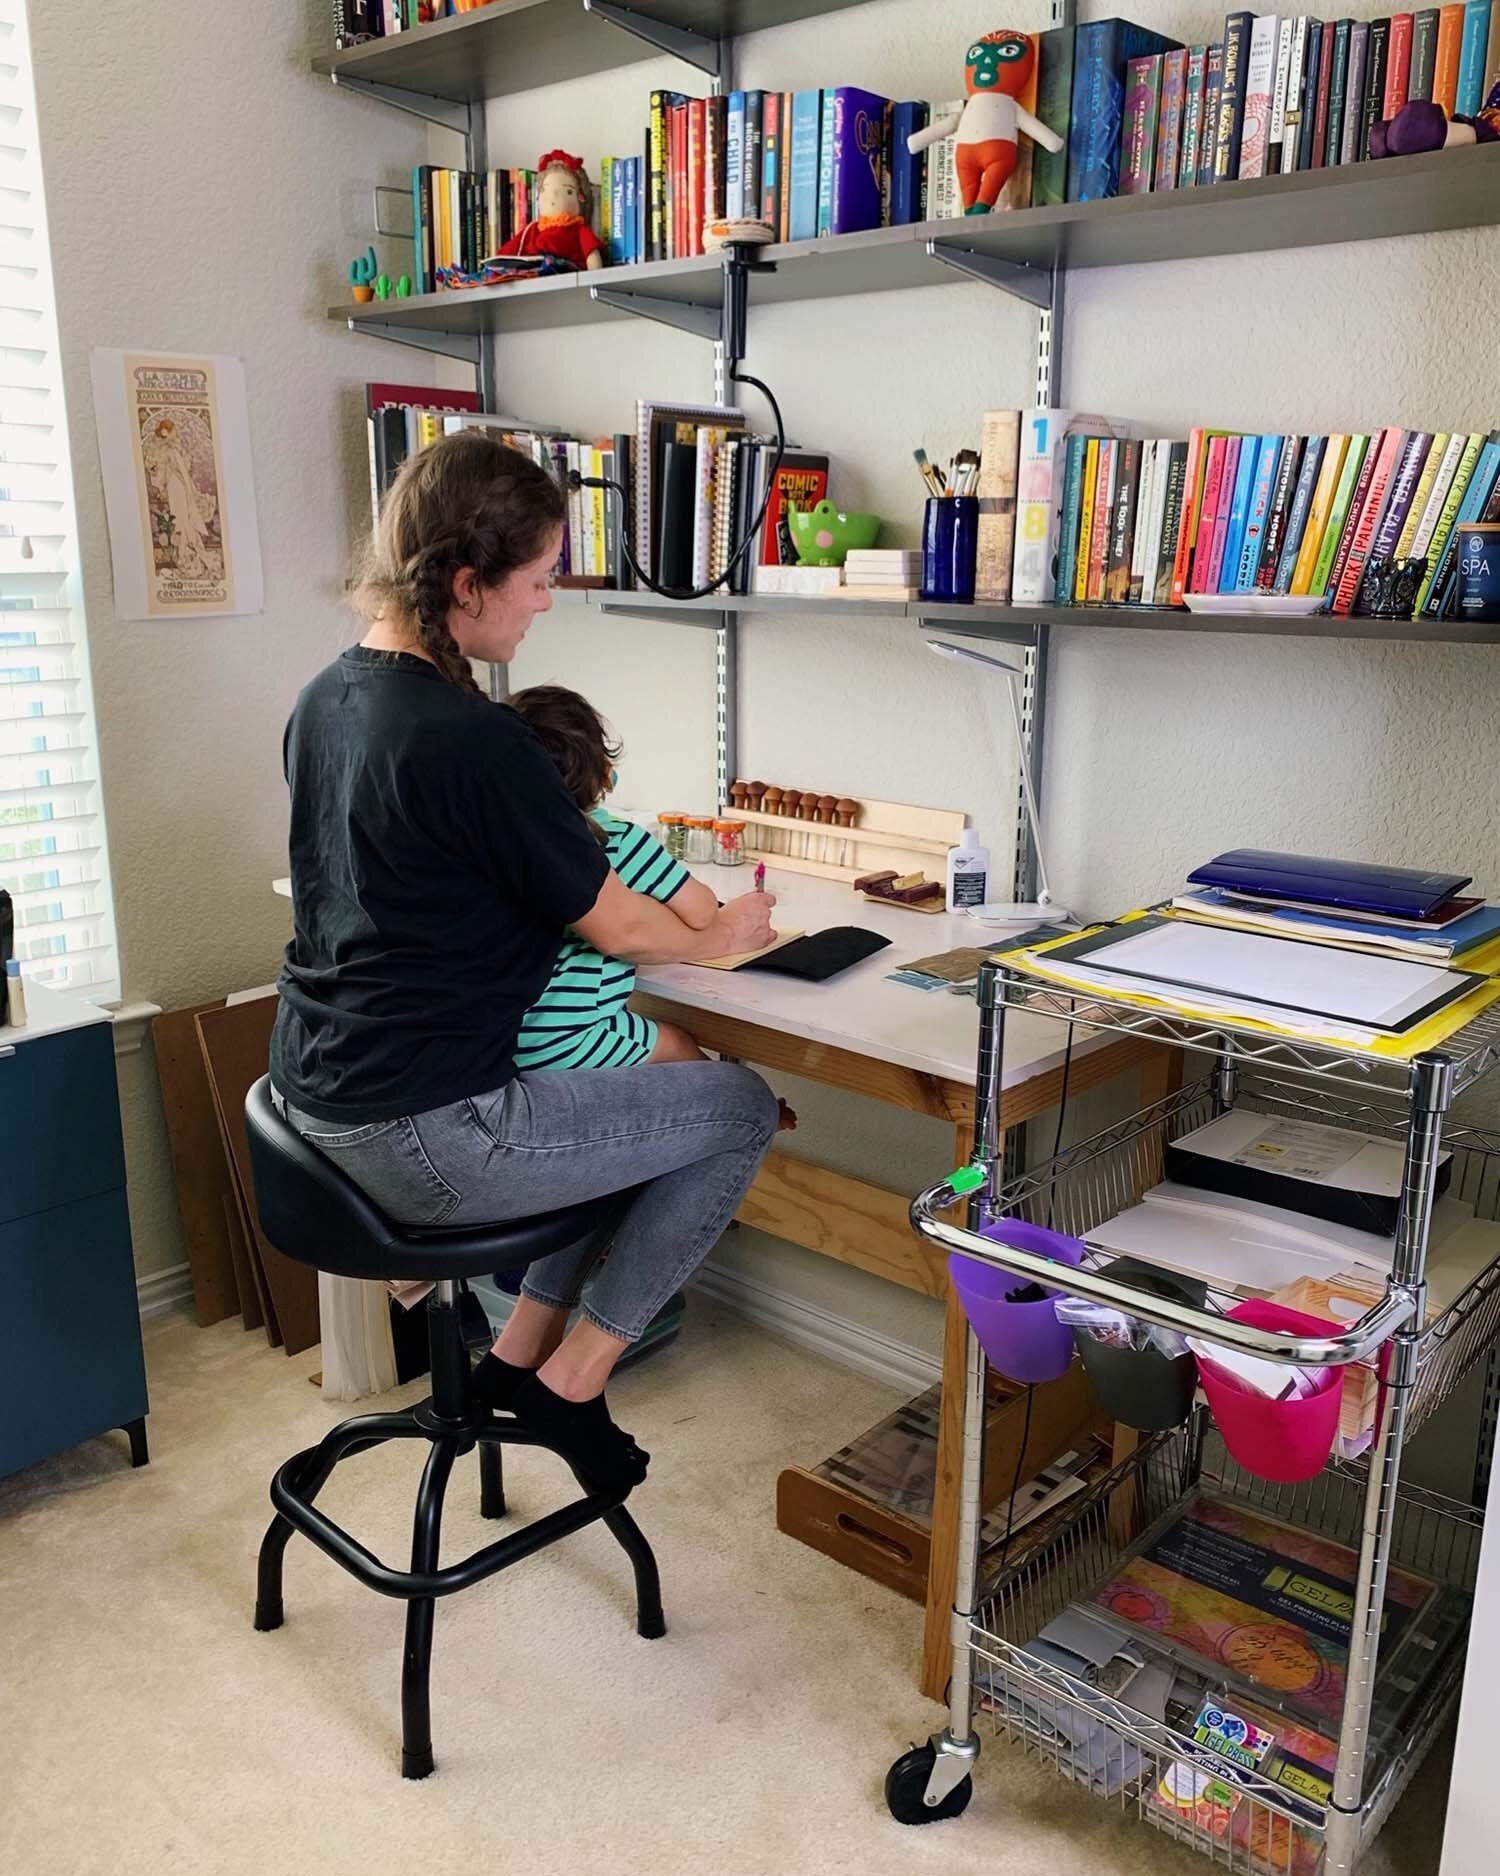
Then, the pandemic happened. Although we were sharing the art studio before, quarantine really made us work side by side, at the same time. Usually, we shared the space but did not overlap; he could be on his meetings uninterrupted while I could make as much noise and mess as I wanted to. We had a guest bedroom we were not using (no visitors during a pandemic) and I managed to convince him to let me convert it into an art studio; this way he could have a designated office space and I could have my art studio back.
I finally had an art studio again!
This was the fun part:
· Figuring out how to organize all the supplies
· Choosing where each type of supply would go
· Deciding which supplies I wanted to be on hand and which supplies could be hidden away
· Organizing and making sure everything was neat and visible (hidden supplies rarely get used)
· Decorating the walls
· Leaving enough space to walk around, dry artwork, and have the option of working on the floor
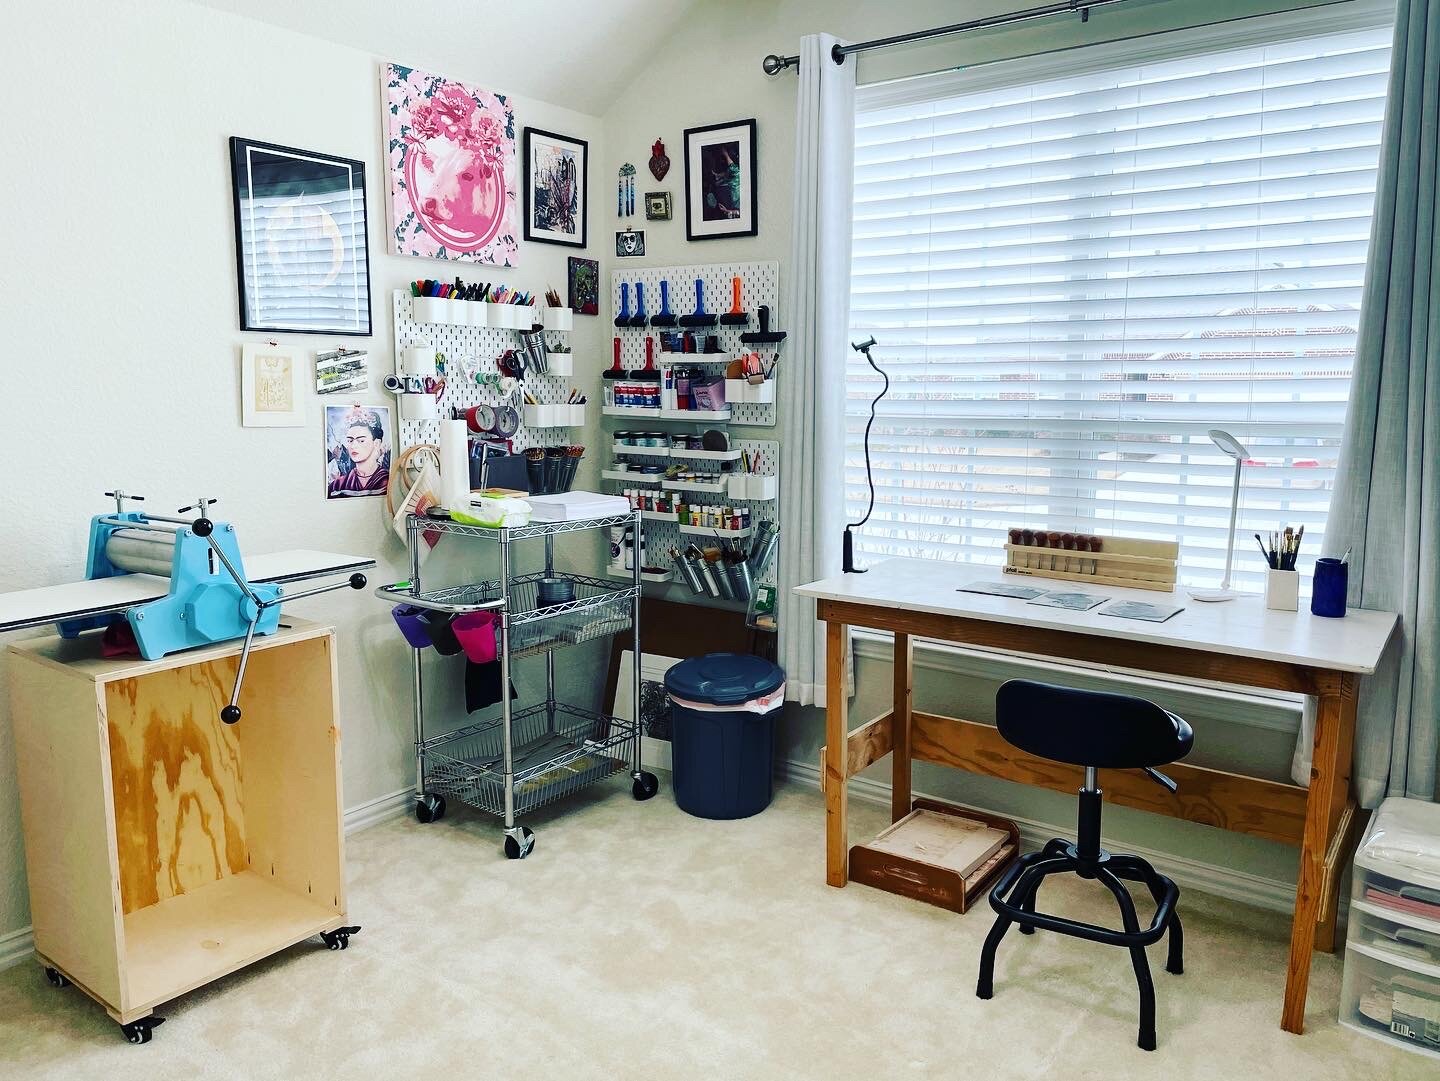
How my art studio was organized in Texas
Desk Organization
My working desk is the same desk I had when I was in my garage studio. We built it since I wanted a sturdy long table (54”) to do my woodcarving on. My husband (@pencilandaquare) is working on a new desk design for the new space. I am currently working with block printing and gelli plate printing, so having a big desk helps me have all my supplies on hand. If you want to know more about those techniques, check out my other blog post: How to gelli print on fabric
I like having a desk lamp to add more light while I carve, I tend to get really close to my designs (maybe because I used to wear glasses). On my desk I have 2 types of pencil holders; one is for the pencils, markers, pens, etc., that I am currently using and the other one is for my good watercolor brushes. If I am carving a design onto linoleum, then I will also keep my carving tools on top of my desk. To the side, I have a cellphone arm holder for when I want to document my carving process.
Next to my desk, I have a 10-gallon trash can so I don’t have to take out the trash every day. I also keep my ring light handy in case I need to take pictures, video, or if I am working late at night (more light!).
Rolling Cart Organization
I have this utility cart since I was in college. At that time, we all had a shared small art studio space at school, and I wanted to keep all my screen-printing supplies organized and mobile. I have had this cart for over 8 years and it still works like new. At the top, I place my copy paper for quick prints, wet wipes, and paper towels for clean-up. The second tier has my new linoleum blocks and my plexiglass for mixing ink while the third tier had all the linoleum scraps and homemade gelli plates. To the side, by the handrail, I have 3 little IKEA baskets that have assorted small tools inside like measuring tapes.

Wall Art Sypply Organization
On the wall, I have 3 IKEA Skadis pegboards. The pegboard that is mounted by itself has my general supplies like pencils, markers, pens, scissors, etc.
Pens
Permanent markers
Fabric markers, pens, and rotary cutter
Scissors
Packaging tape
Washi tape
Embroidery hoops
Embroidery scissors
Galvanized metal pot/buckets that hold color pencils and 2B pencils
Some matt board and baggies

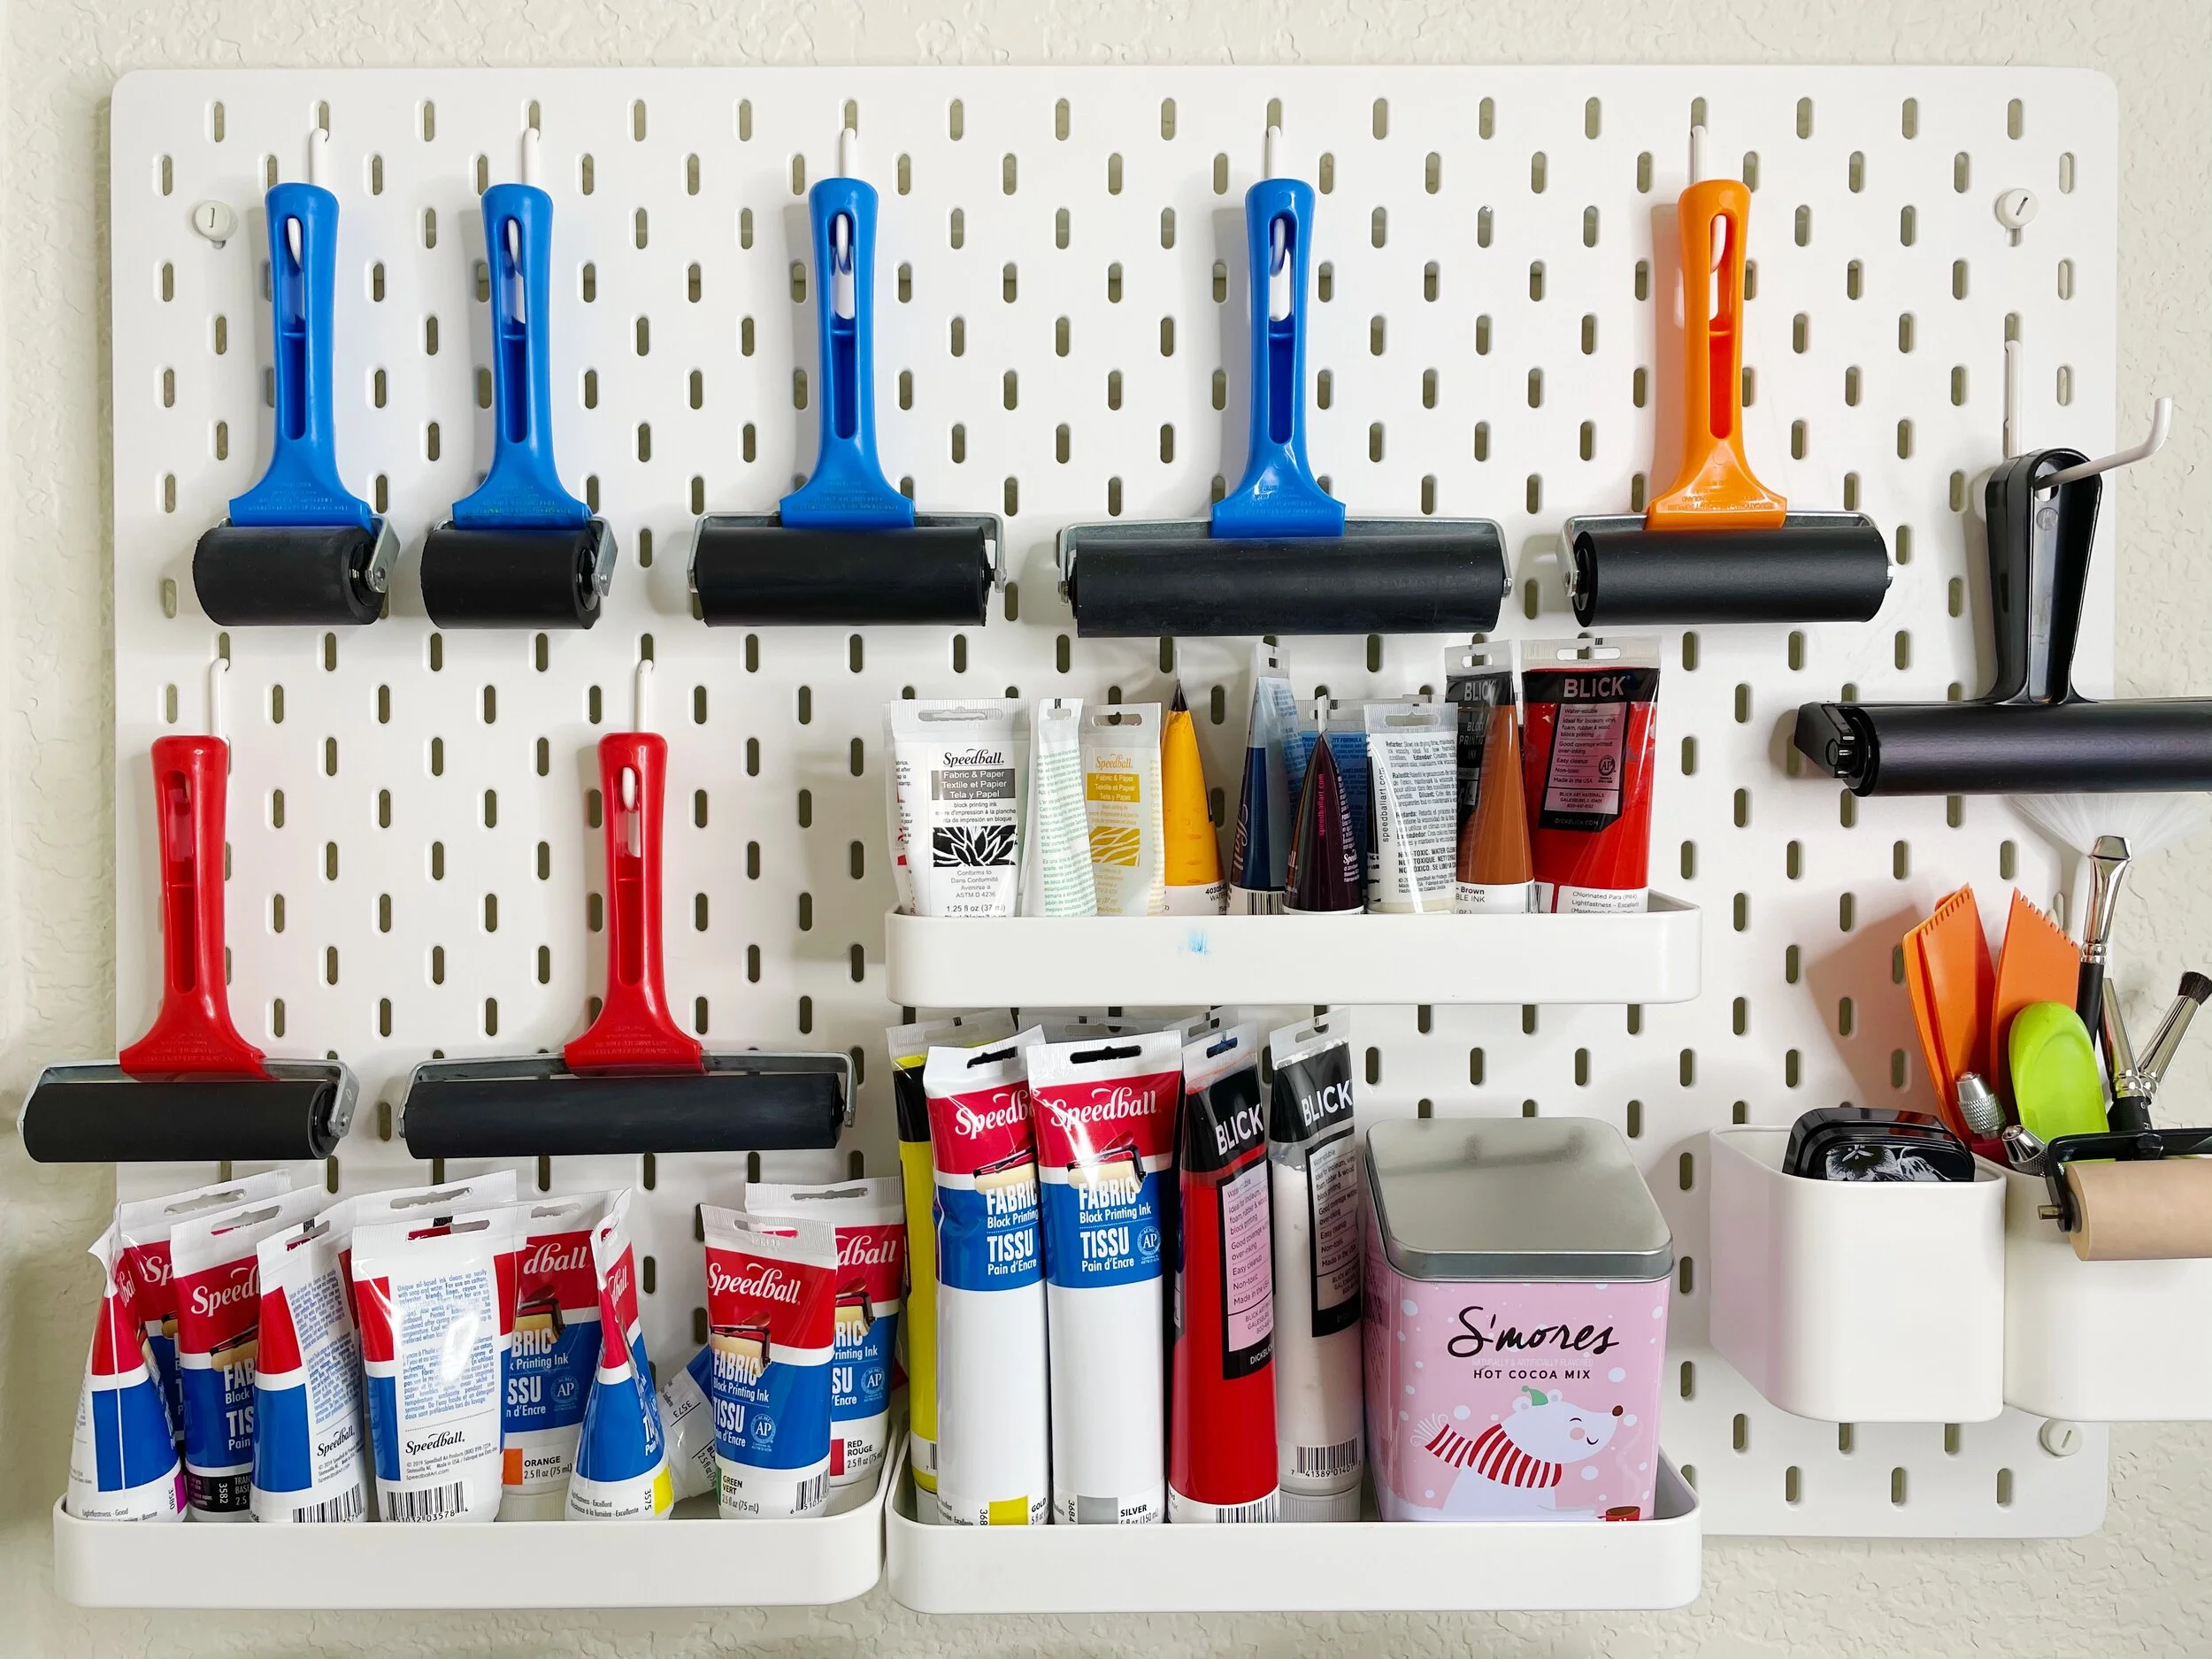
On the other wall, I have 2 pegboards that have all my printmaking, painting, and (some) watercolor supplies.
All my brayers/rollers
Galvanized metal pot/buckets that hold all types of brushes and palette knives
Watercolor paint tubes
Acrylic craft paint
Watercolor powder pigment and masking fluid

Printing Press Cart Organization
I recently bought my first printing press (yay!) and it is mounted on a rolling wooden cart made by Pencil & Square. This setup might change once I get a new desk, but for now, this is how it is organized.
First Drawer
Handmade baren (also by Pencil & Square)
Box with SlipStrop and sharpening stone
Printing guides on Yupo paper
Second Drawer
Linoleum matrixes (carved designs). Especially the ones I am currently using so they are on hand
Third Drawer
Printmaking paper
Fourth Drawer
Mats and packaging slips for finished pieces
Frames
Fifth Drawer
Fabric


Closet Art Sypply Organization
Because I wanted to have plenty of moving space in the room and not be crowded, I have more supplies stashed inside the closet.
Hanging
I have all my paper hanging from clothes clip hangers. I like clip hangers that have good friction, so the paper doesn’t slit through. I also prefer the clear ones since they can be stacked on each other. I place the metal hook through the little opening in the middle.


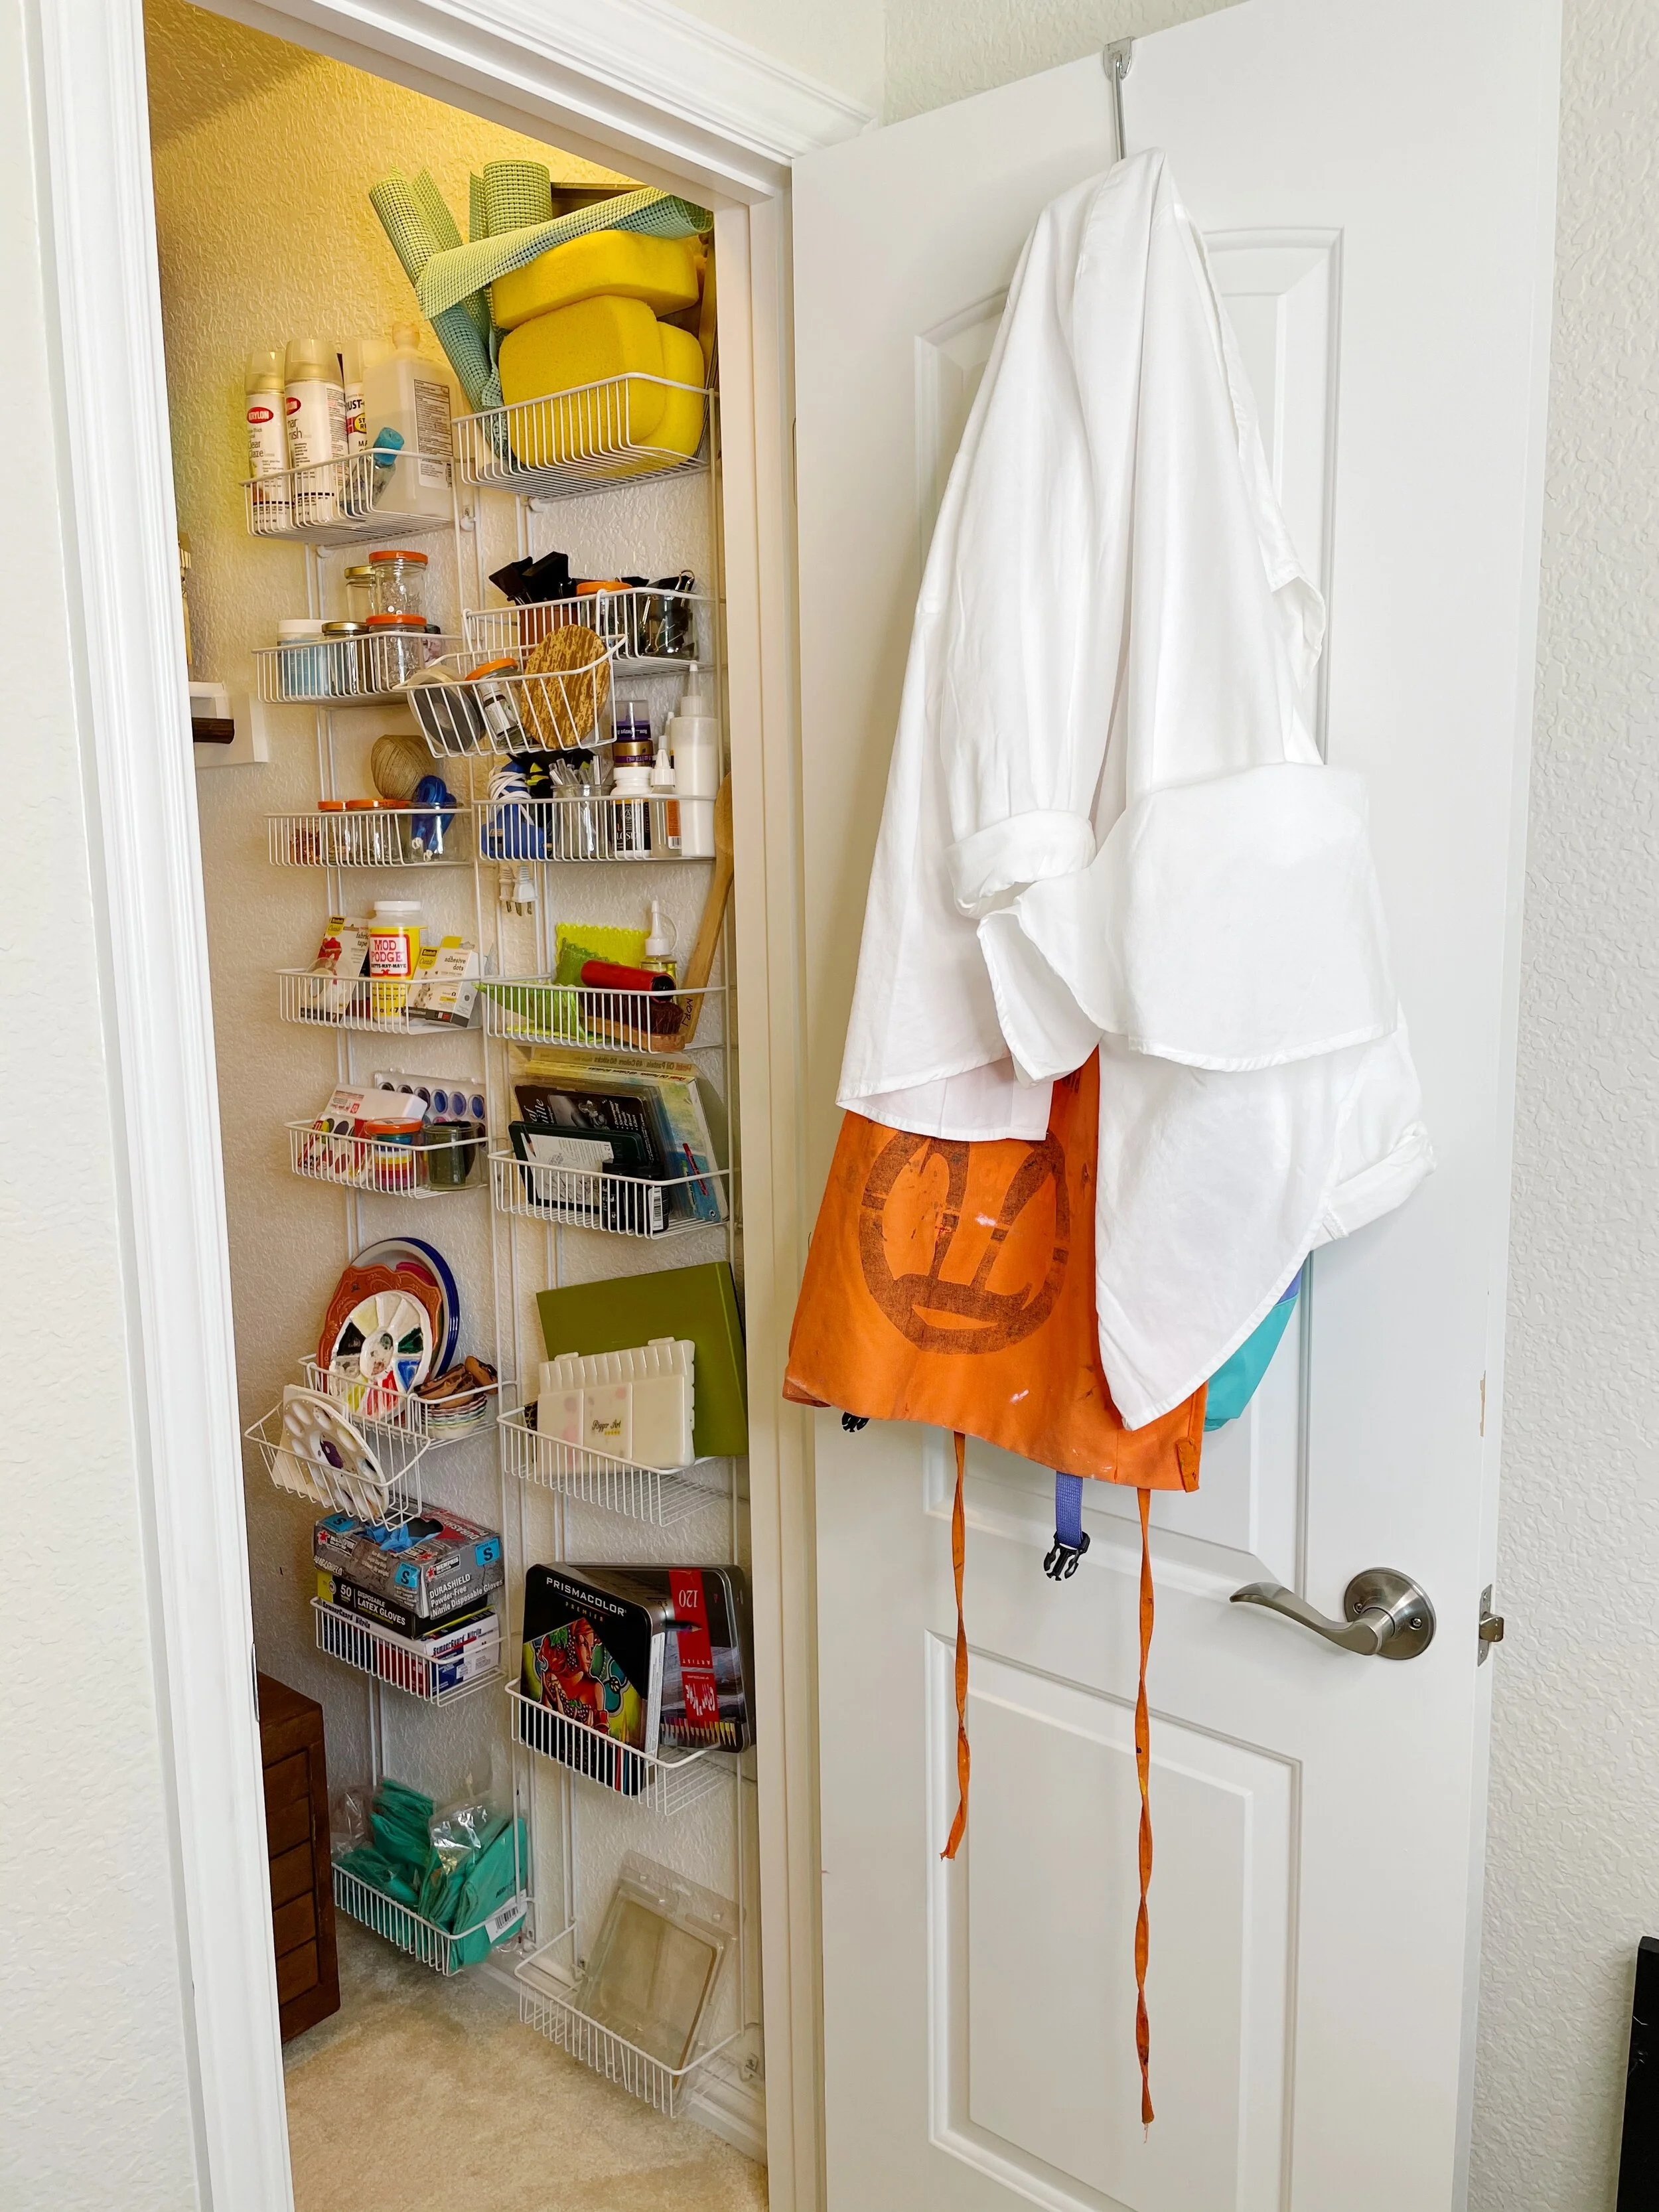
On the Wall Art Supply Organization
I have a nail on the wall that holds all my rulers. Nothing fancy but it works.
I use 2 old wall pantry organizers to hold all my other art supplies. They can be organized by sections and be visible. If I don’t see it, it does not get used.
First pantry hanger, bottom to top:
Rubber gloves. I used to use them more with screen-printing, but they are still handy
Watercolor and gouache paint palettes.
Small watercolors pans, tempera cakes, brush soap, and cleaner
Different type of adhesives
String and binder clips
Gesso and pushpins
Rubbing alcohol, aerosol glaze, and varnish
Second pantry hanger, bottom to top:
Store bought gelli plates (it is better if you store them standing up rather than on top of each other)
Color pencil and watercolor pencil cases.
Paint palette and (another) watercolor set
Oil pastels, gold/silver leaf, and sketching pencils
Assorted supplies for woodblocks
Different types of glue (hot glue, craft, glue, gorilla, glue, etc.)
More binder clips, assorted sizes
Sponges and shelf lines (I use to place my linoleum on top and carve so it does not slip away)


Handmade Filing Cabinet
On top of the filing cabinet:
Cutting matt
Paint, brushes, and easels for my toddler
Ikea drying racks on the side
Inside the cabinet:
Finished designs
Old linoleum designs
Tracing paper, carbon paper, graphite paper
Watercolor paper, Yupo paper, blank cards, and postcards
Random paper scraps

Decoration
Most of the walls on the studio are bare, however, I do have some pieces up. Most of the prints come from print exchanges. A print exchange is an event where participants sign up to do an exchange and they send them to each other as gifts. Some print exchanges have themes or requirements, others are open. I really enjoy participating because it gives you a window into what other artists (all over the world) are working on.
My goal is to start collecting artwork from other artists that inspire me and cover my at-home art studio walls.


Art Studio in California
We recently moved to California, and I had to downsize and reevaluate (again) what I could take with me and what I had to gift. Our new place doesn’t have enough space for me to have a dedicated studio room, so we are sharing space in the home office.
Right before moving, my father-in-law built me a custom-made art desk. I wanted a desk that would be sturdy enough when printing by hand and also have storage for my art supplies. It was great for the move, many of the art supplies I had stored in the closet are now inside the desk!
However, the first thing was going through all my existing supplies and choosing what I wanted to take with me. Yes, artists can be art supply hoarders. I took the opportunity to gift them to my teacher friends for their classrooms. This way, I knew they would be loved and used; I could walk away from them without feeling guilty.
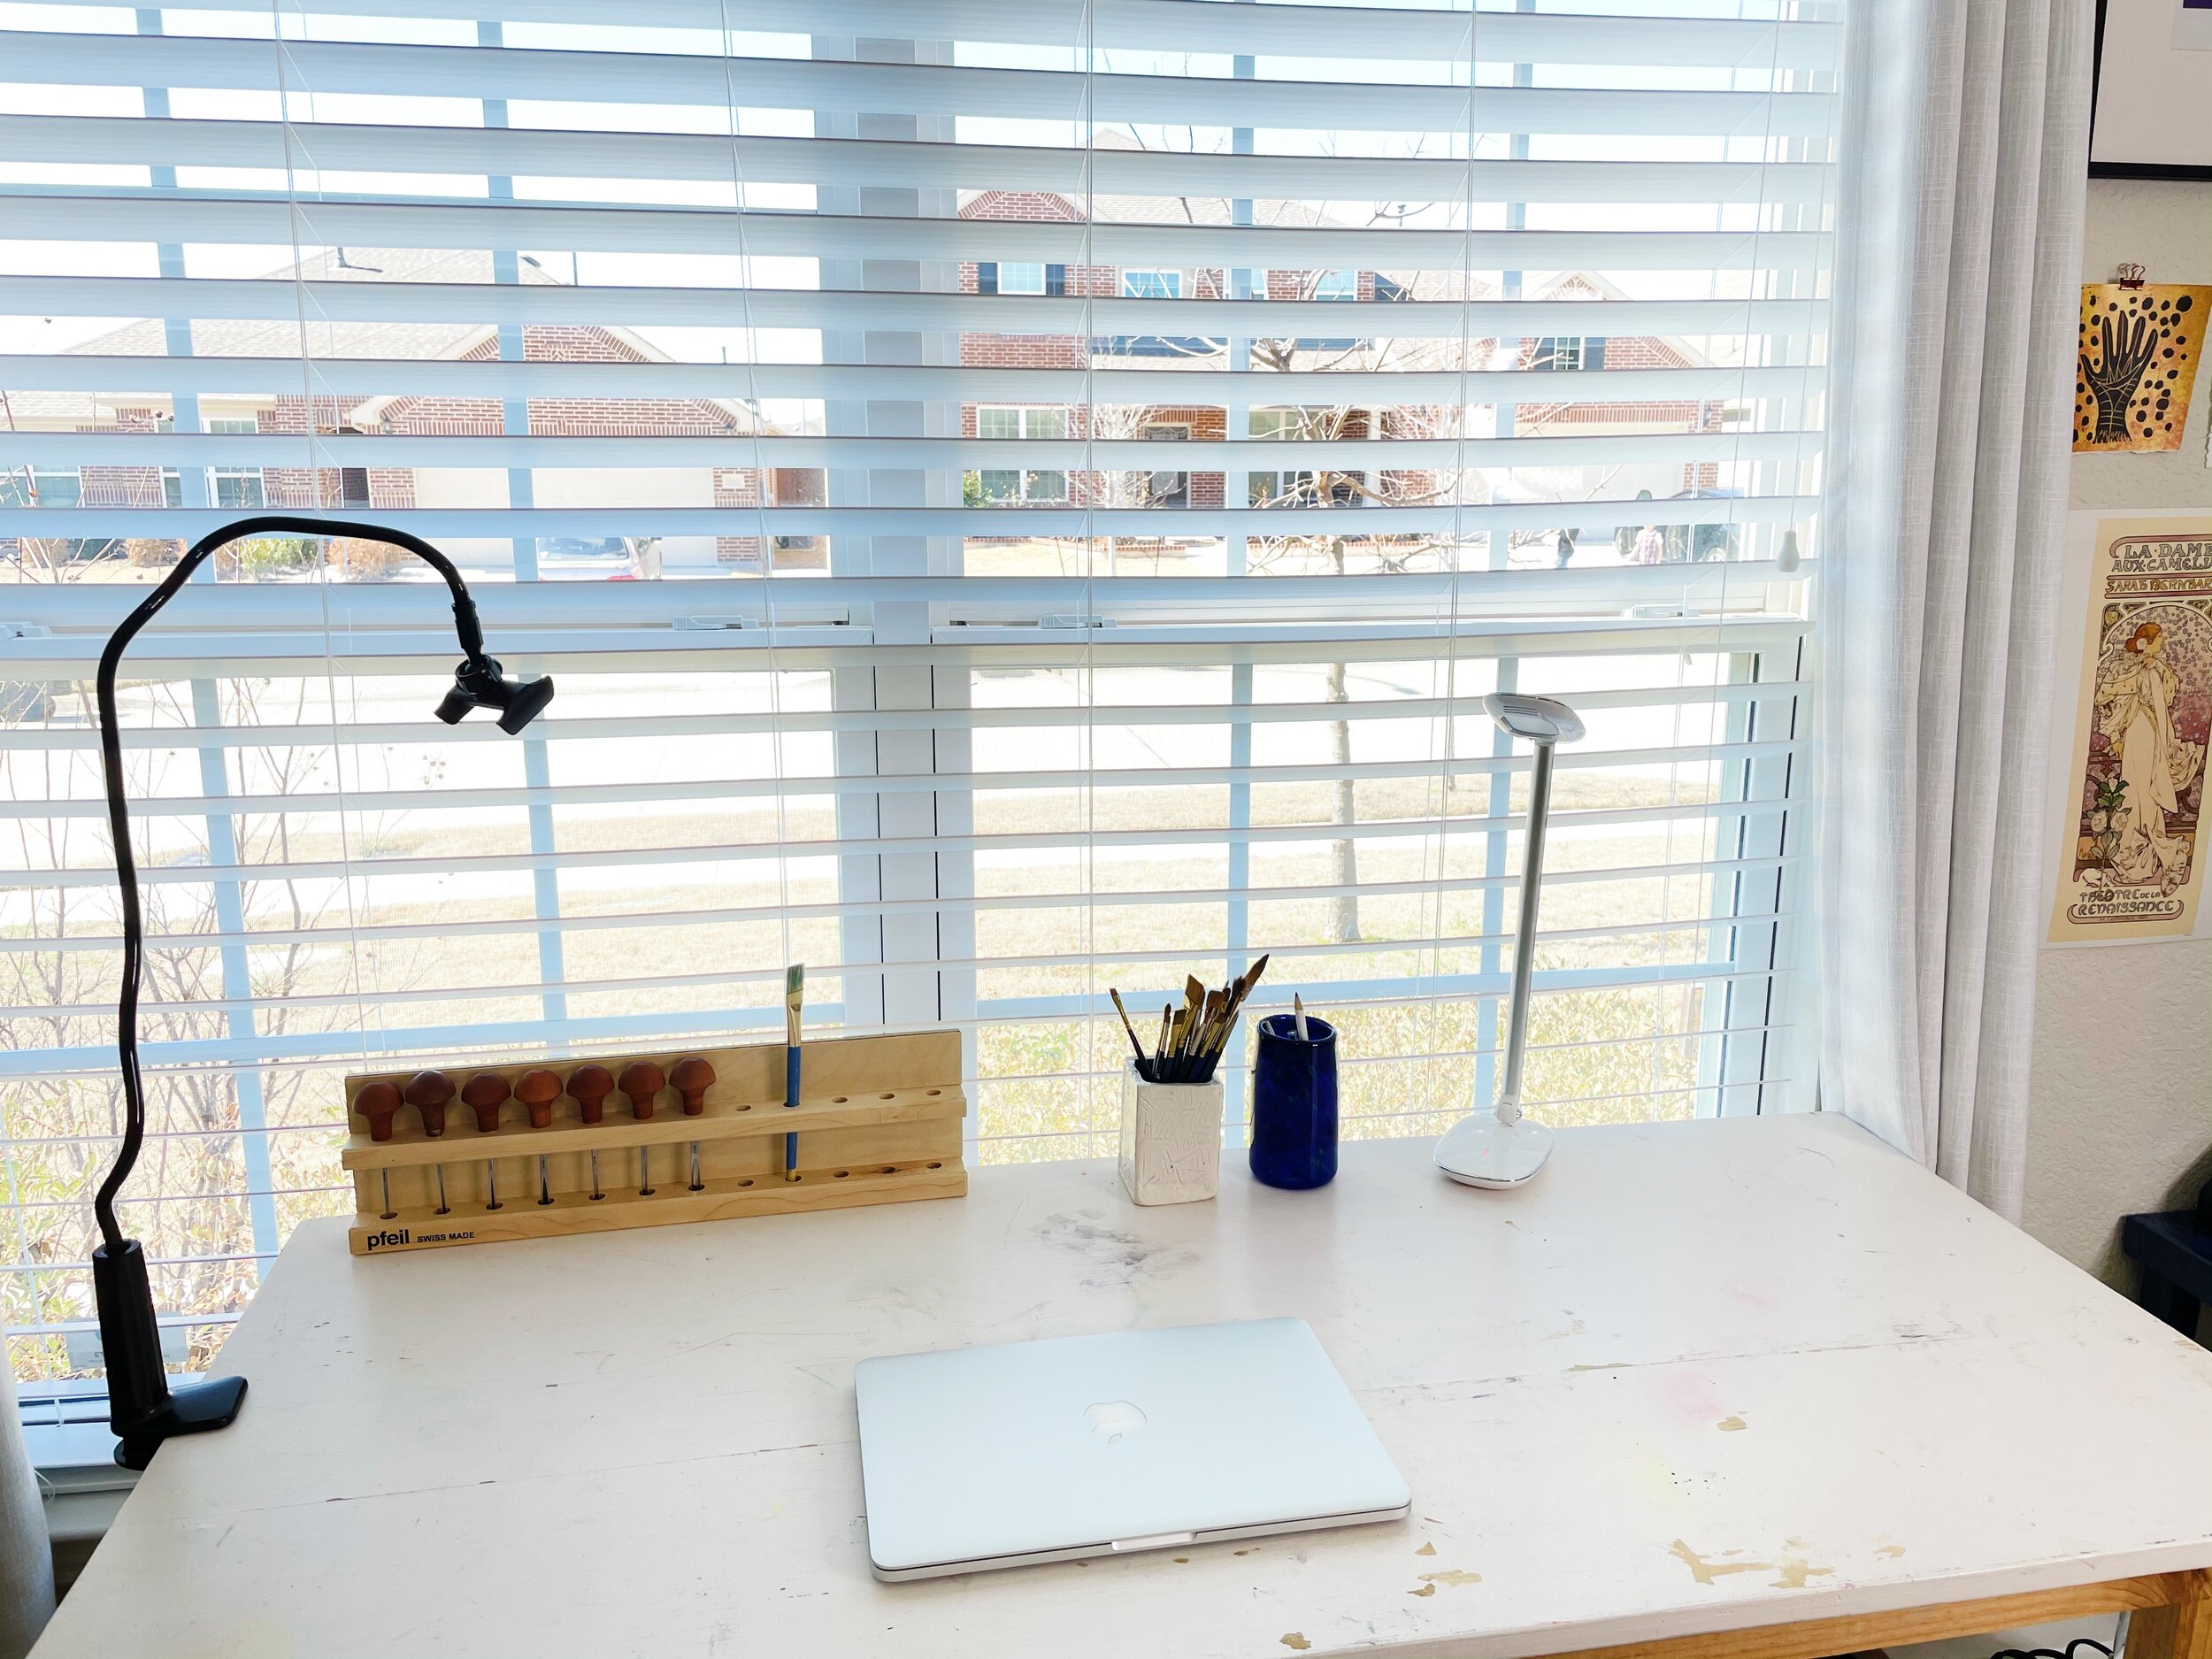
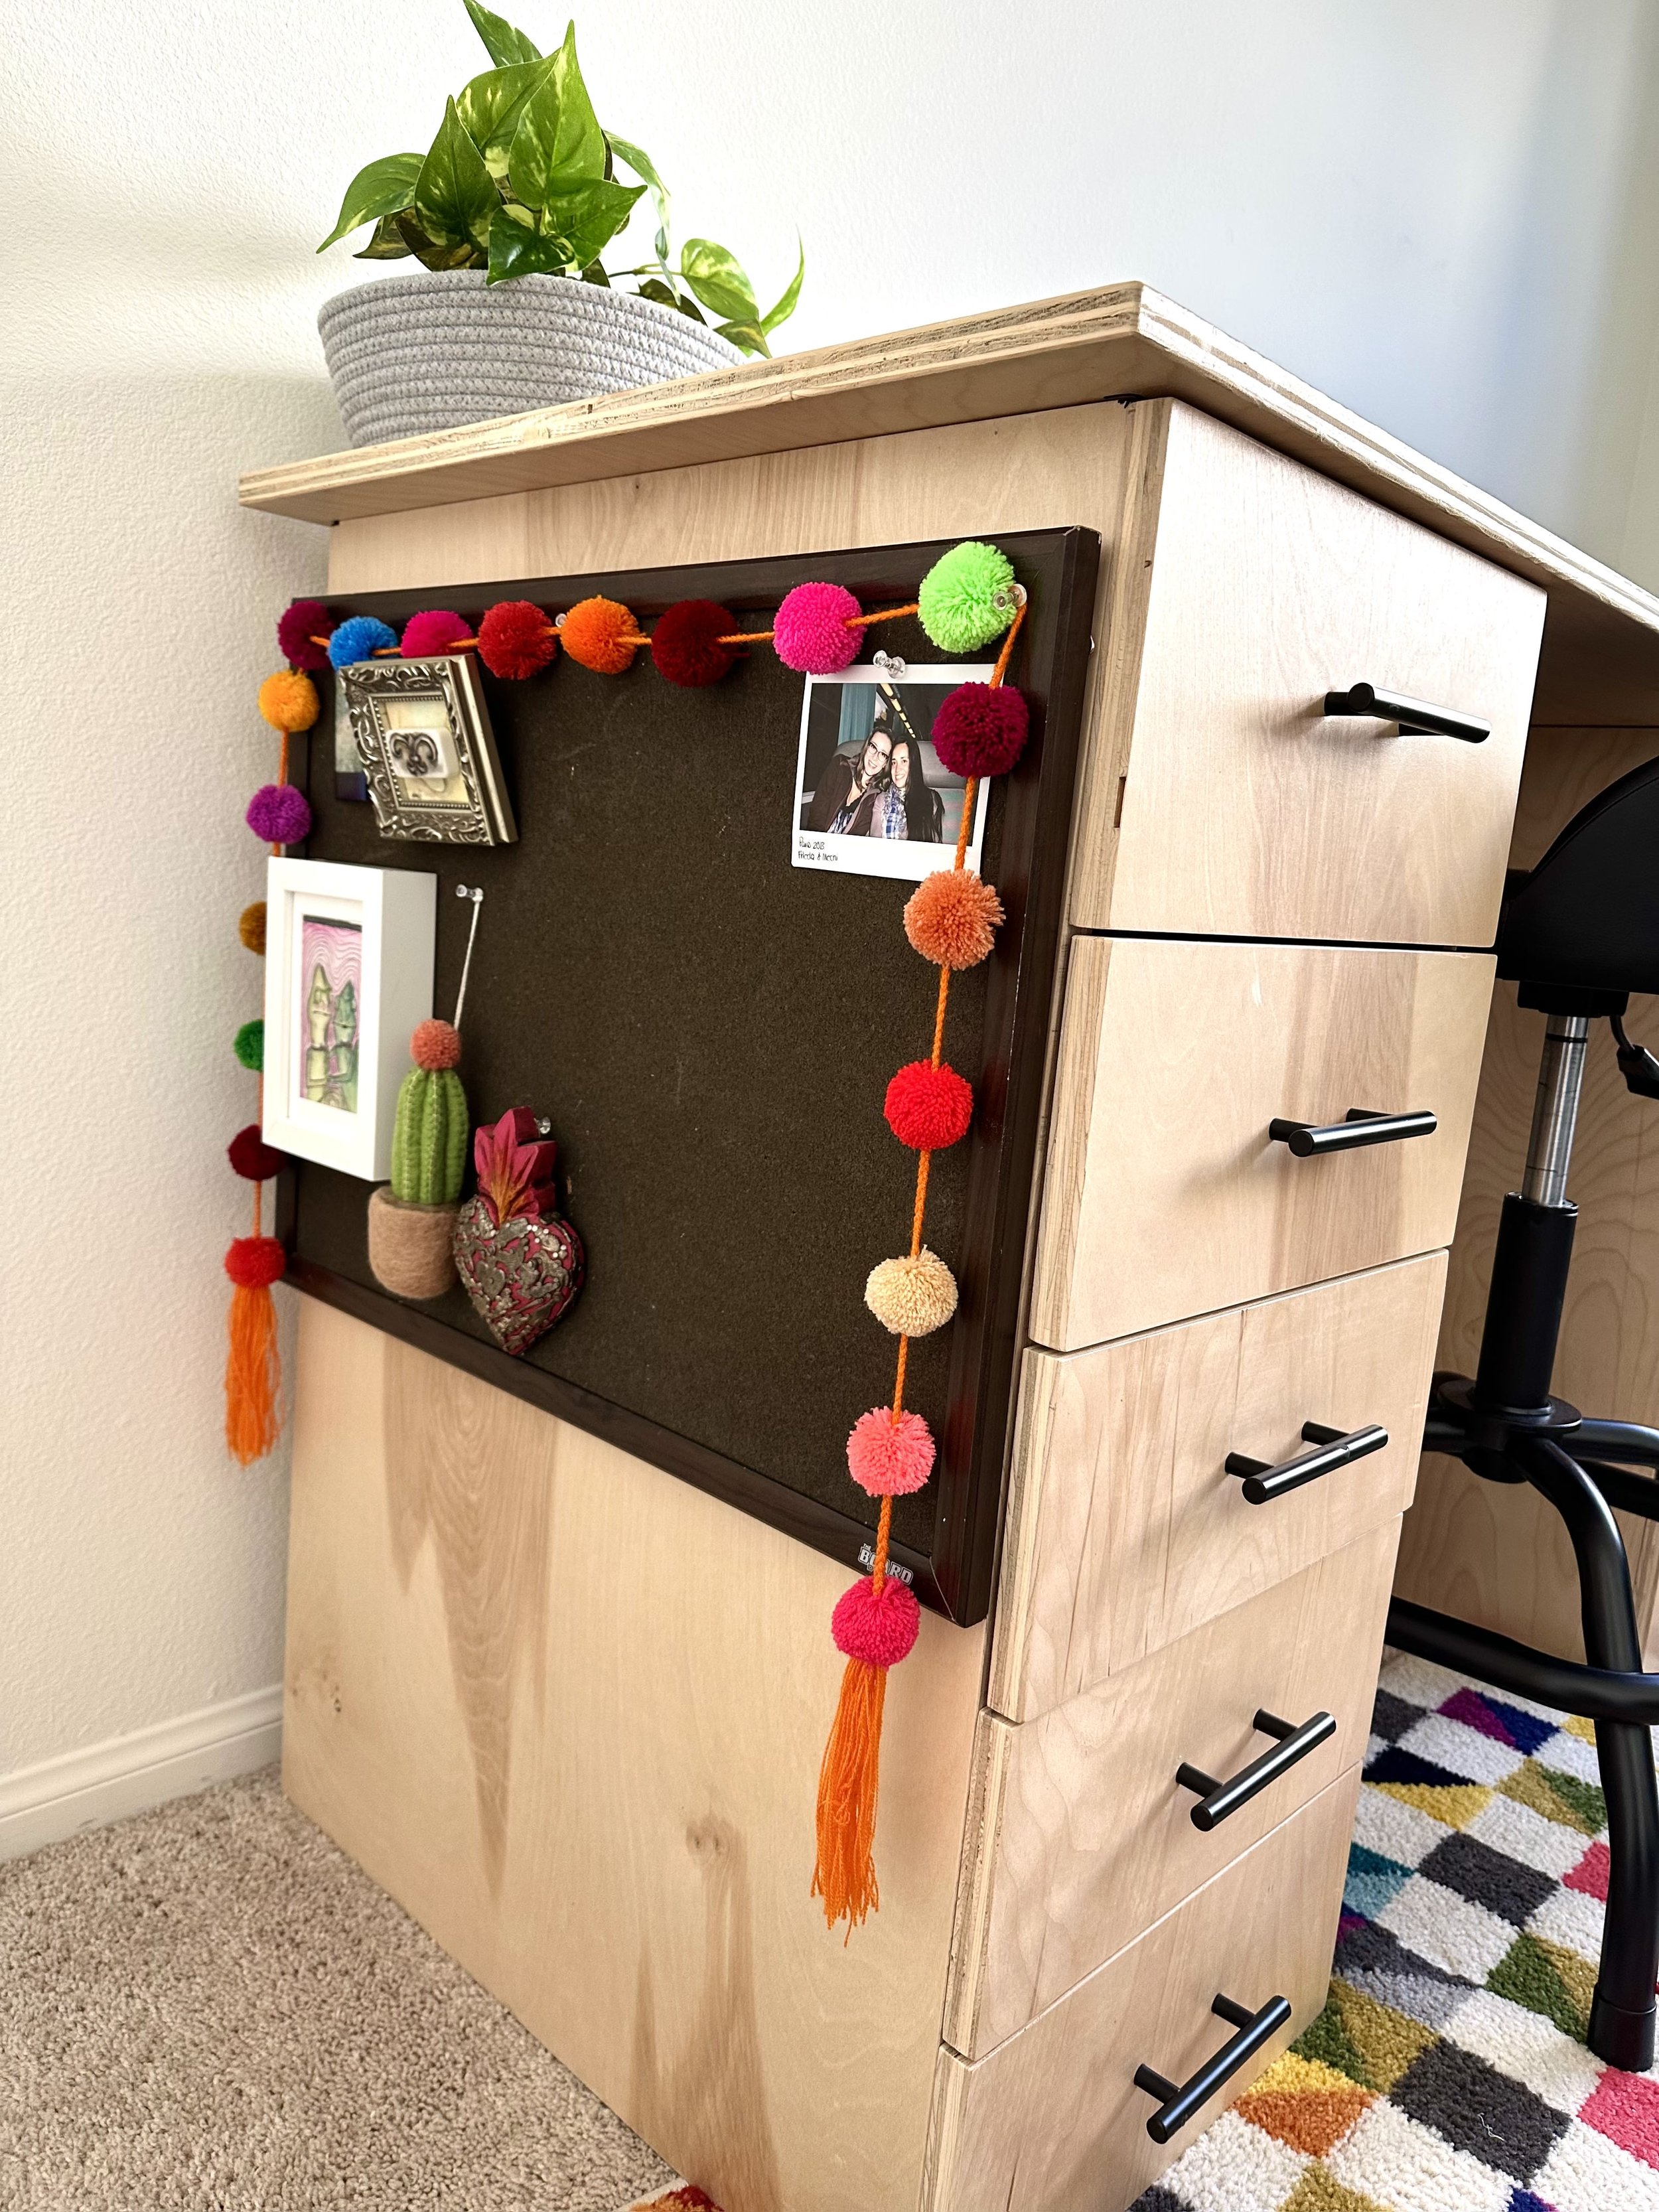
The magical desk
I love this desk. It is big enough that I can have several art supplies out while I do some art journaling or printmaking without worrying about them falling off. The desk is high so I can put enough pressure while I hand-print. Don’t my feet get tired when I’m sitting down? No! It has a nifty food rest just for that.

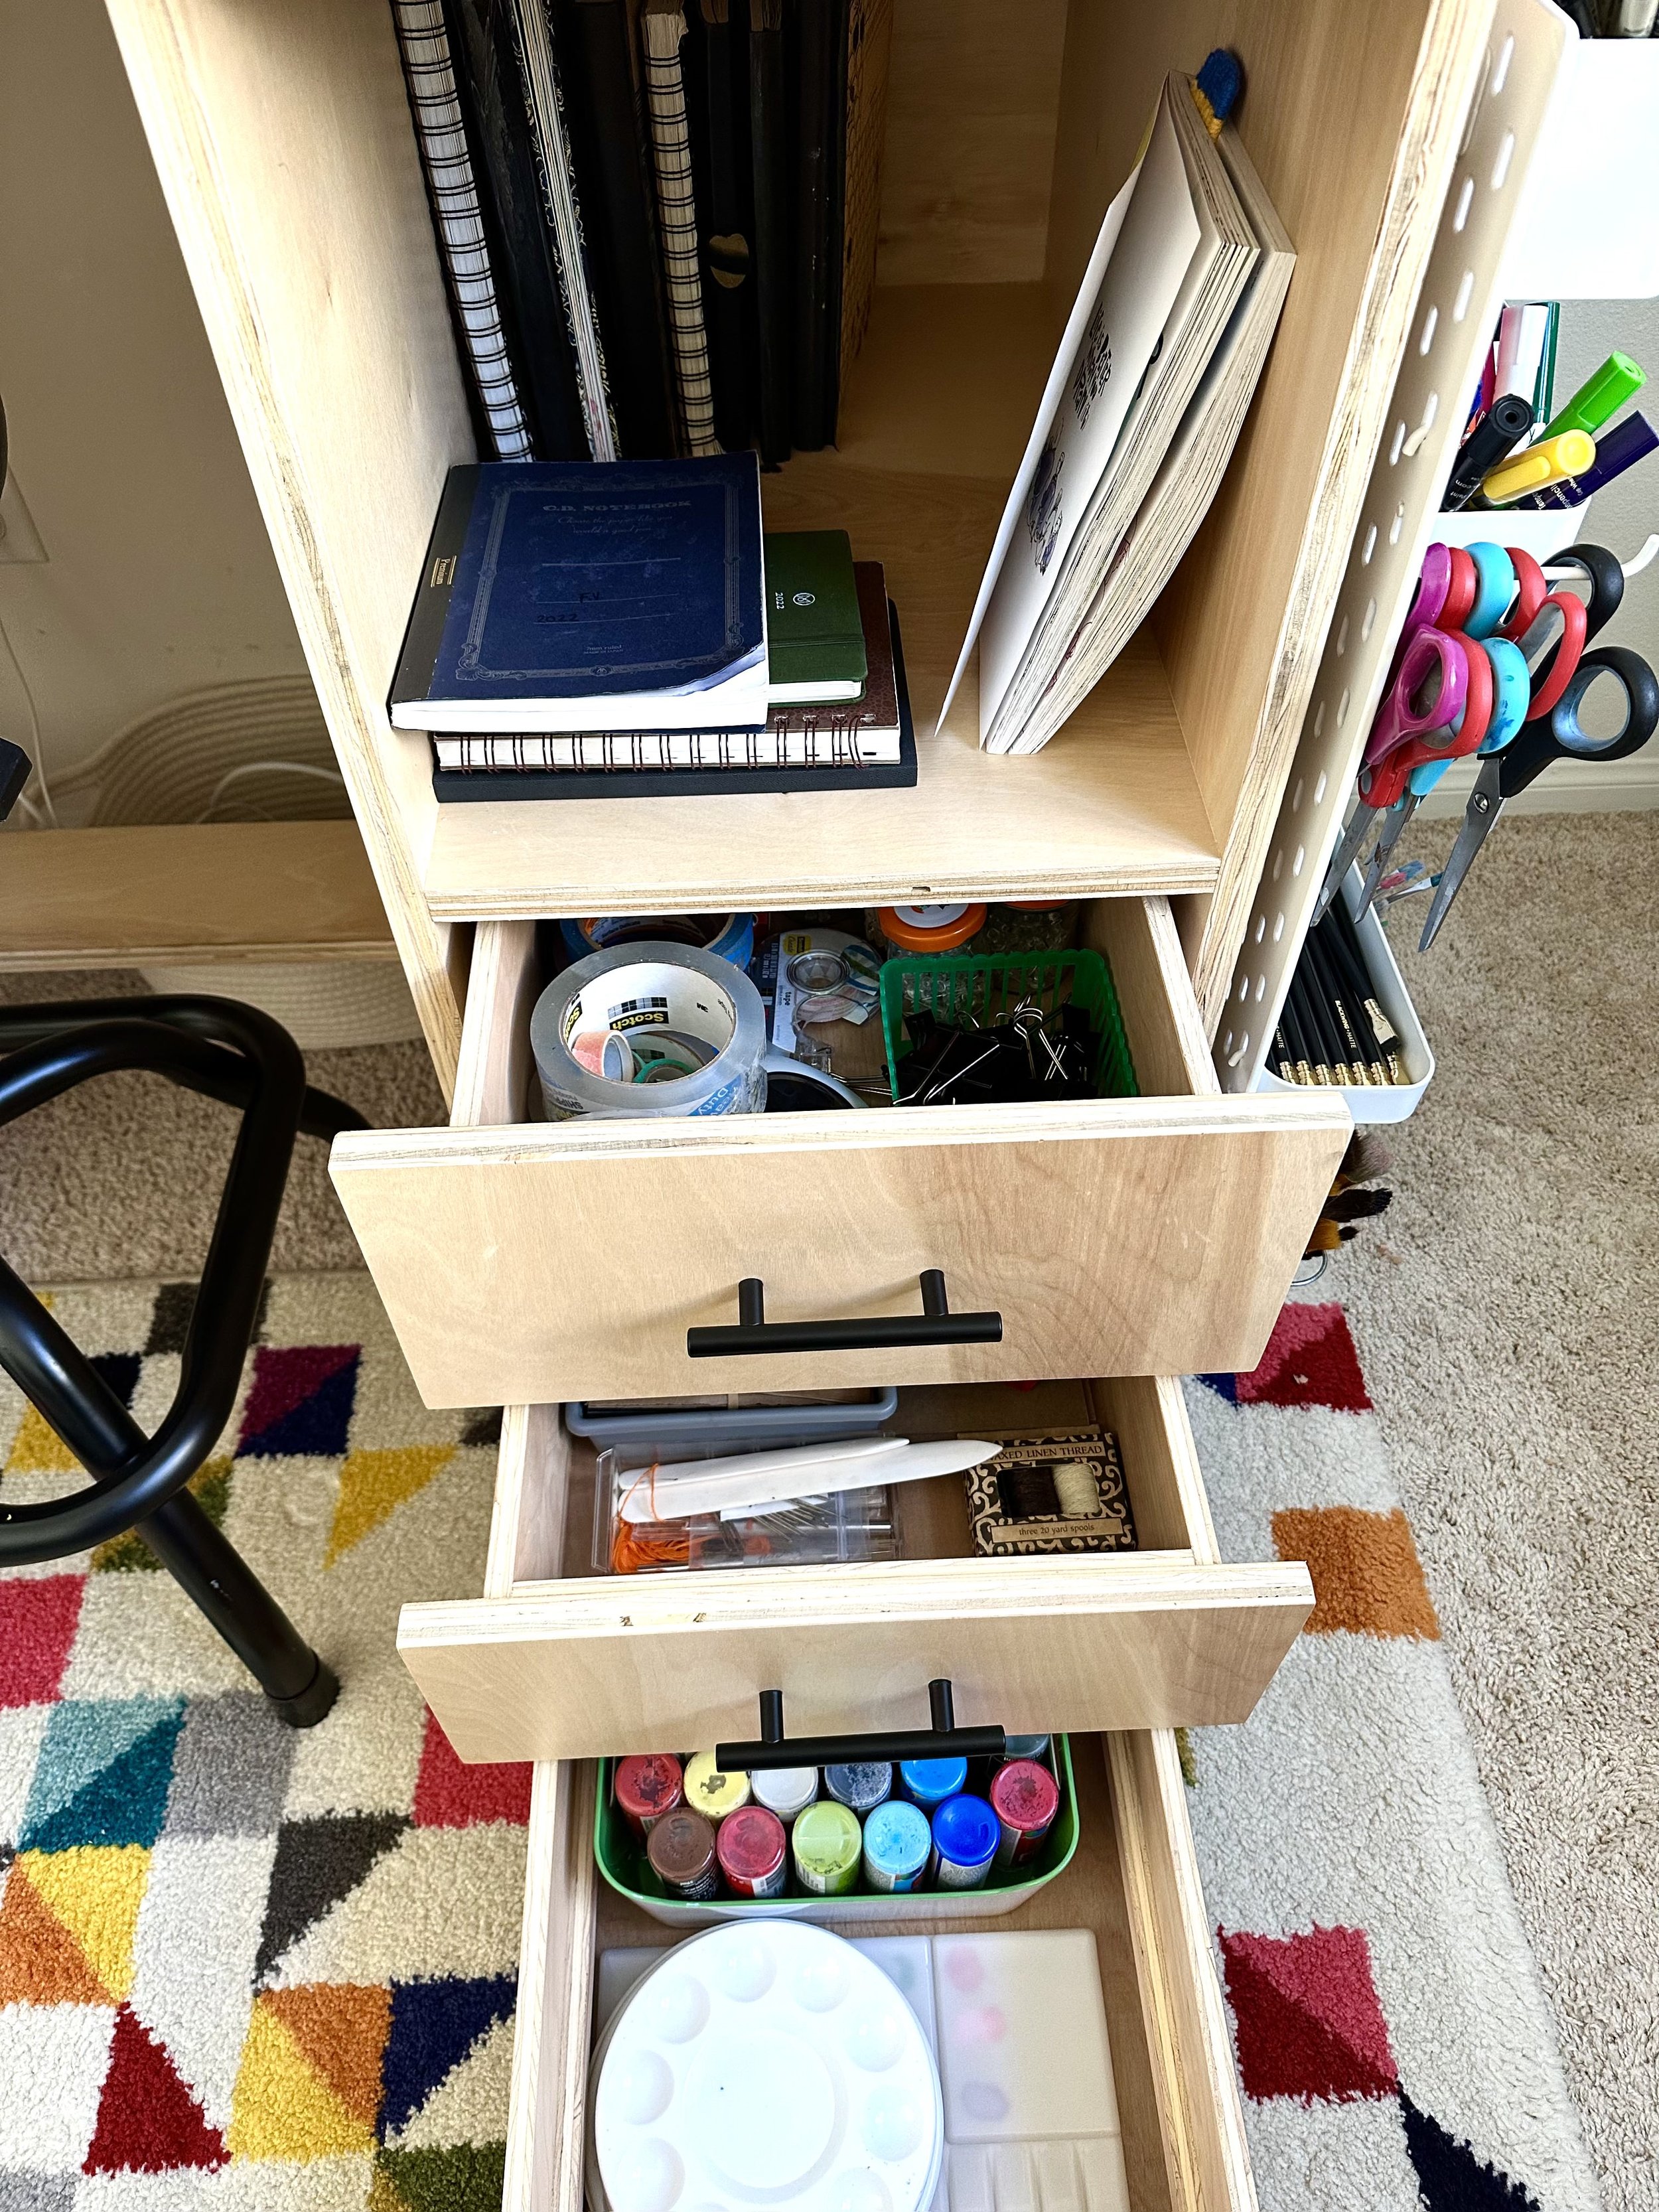
On the right side
The top right is an open space for me to store sketchbooks and art books that I use while I create. I like to store finished sketchbooks or books I am not using and only keep the ones I am actively using on hand.
The drawers hold some office supplies, then bookbinding supplies, and at the bottom paint palettes and acrylic craft paint. The paint is heavy, so having it on the bottom drawer helps balance its weight.
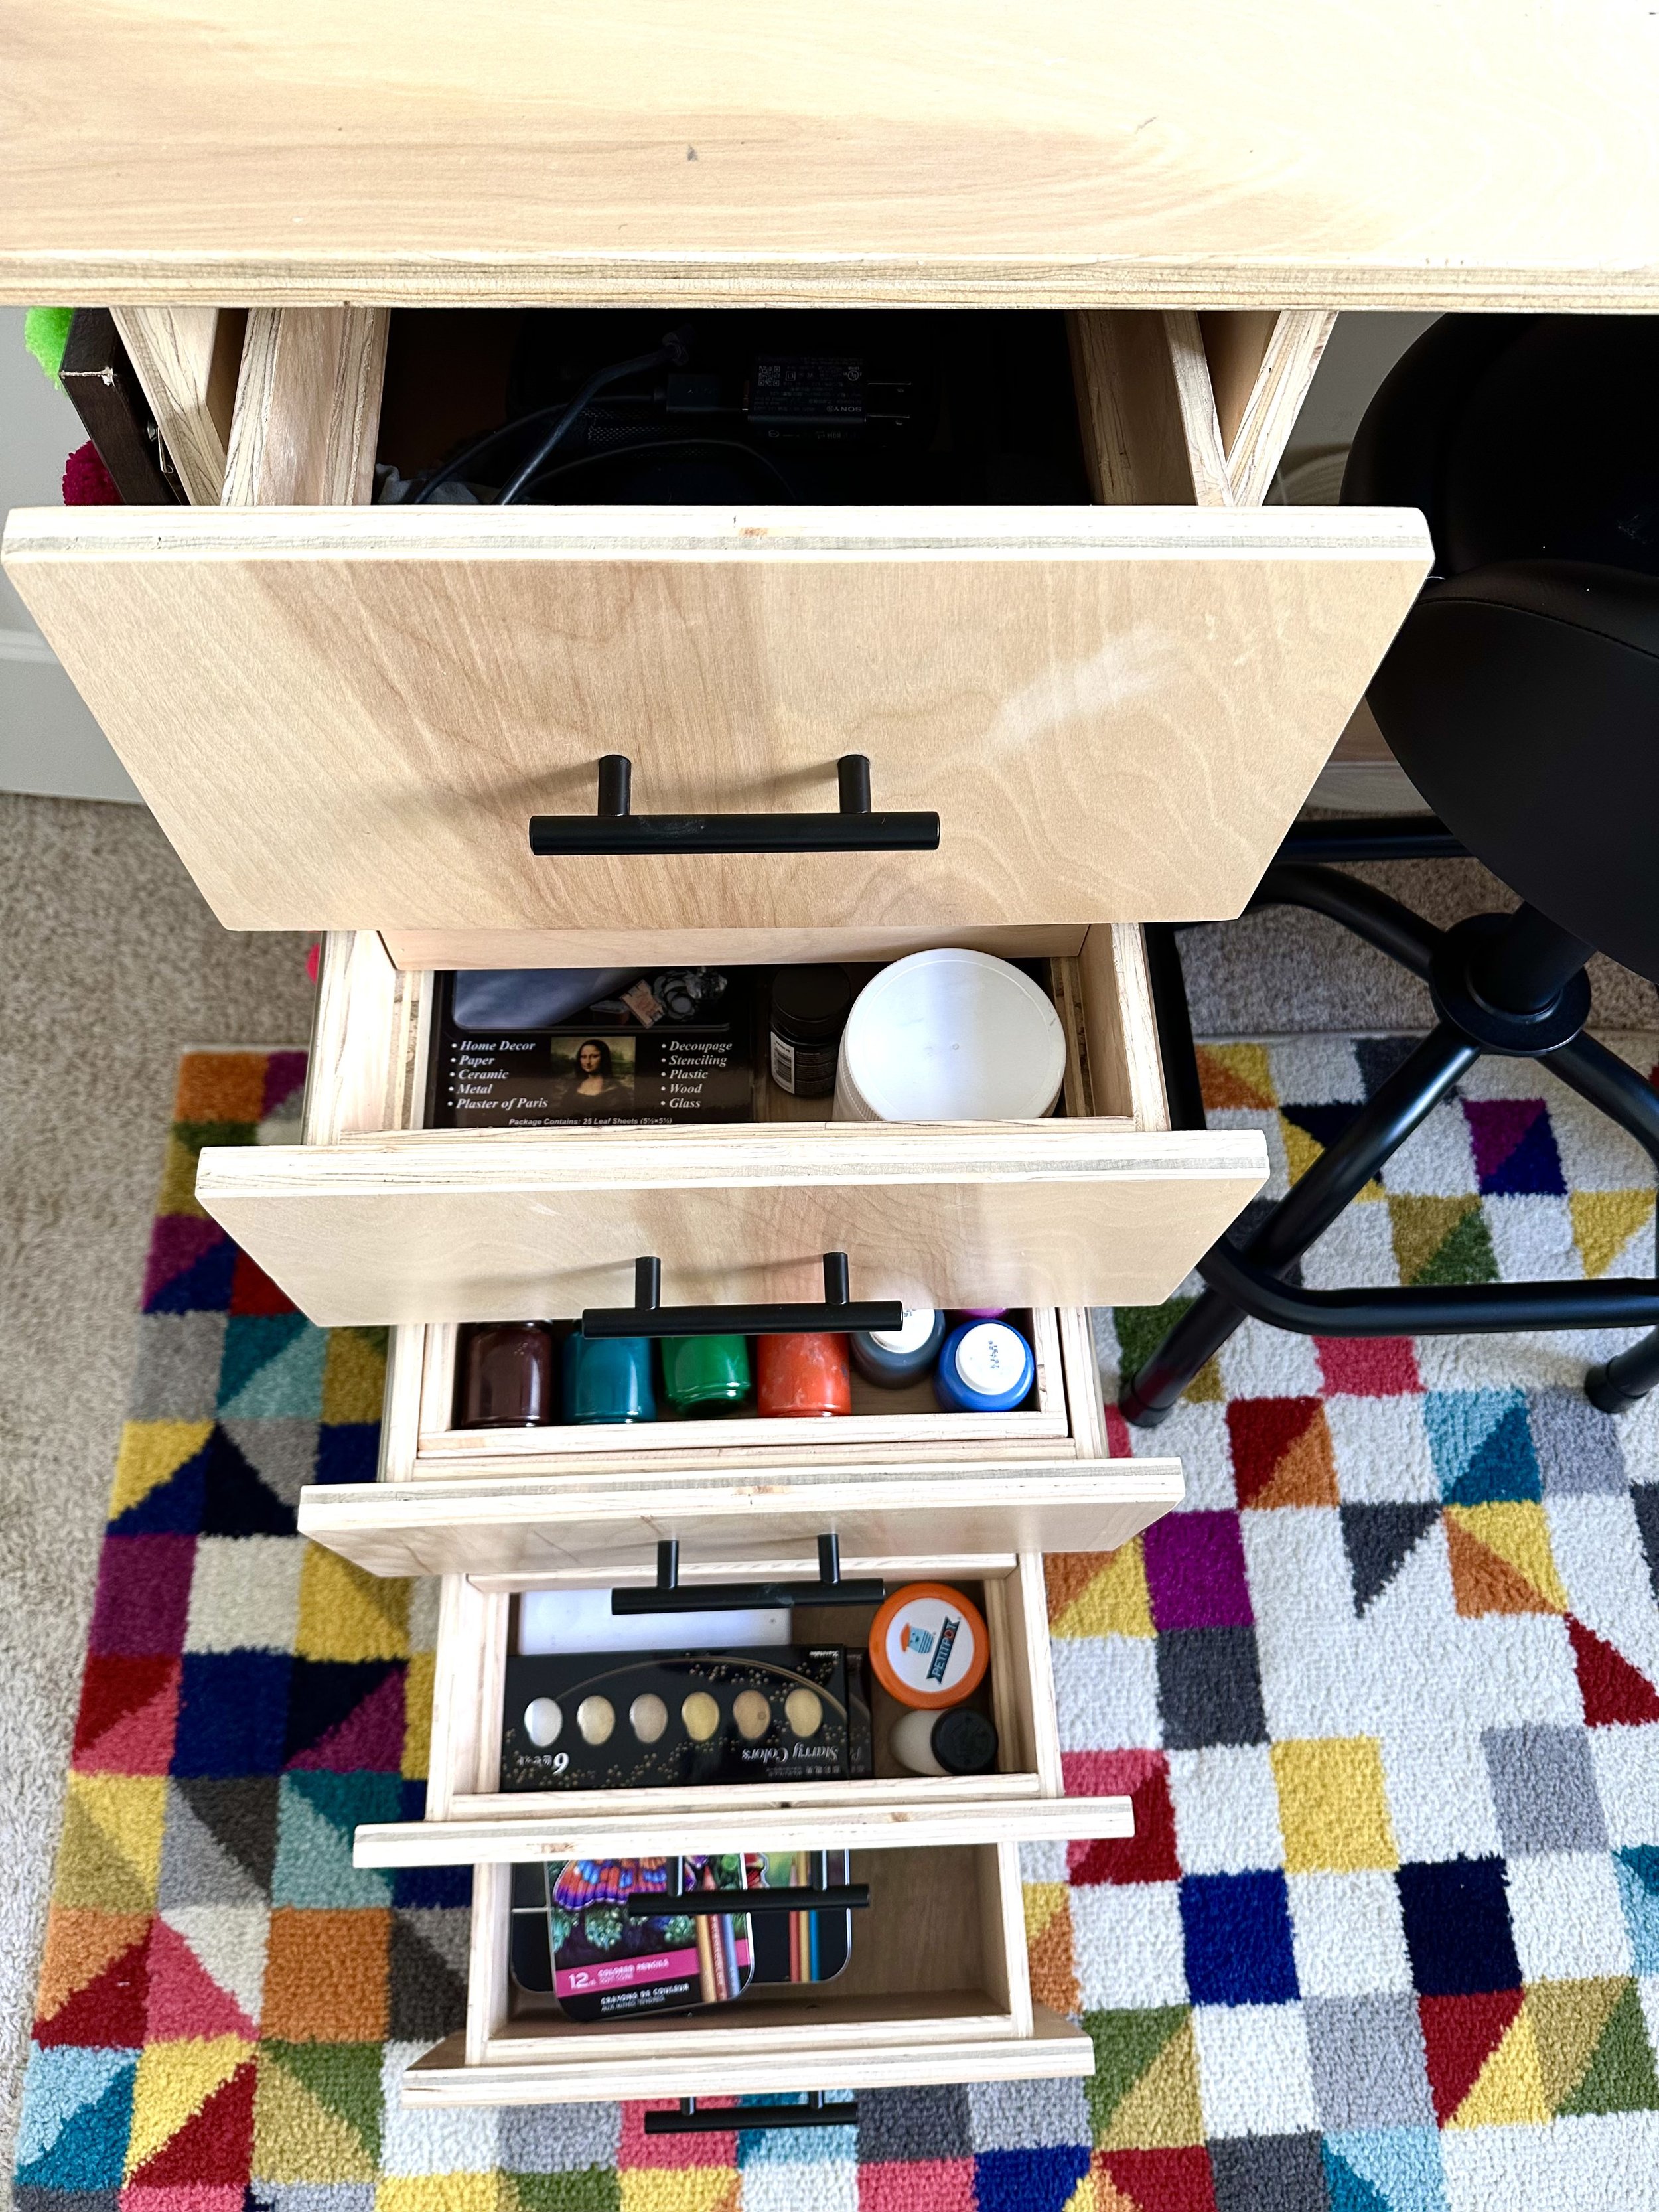
On the left side
The top drawer is reserved for cables, and recording stands. Then, I have gold foil and other random art supplies; next, I have a paints drawer (where I also store my kid’s paint), a watercolor drawer, and finally, the color pencil and watercolor pencil drawer.
I need to have my kid’s paint stored in the closet in my Texas studio, but here I have to consolidate both our art supplies. Having his supplies in my drawer also helps me know when he wants to paint (without him accidentally painting the walls).
To the sides
On the right side of the desk, I now have my Ikea pegboards. These supplies remained the same for the most part. However, I did not want to do wholes on the wall (we are currently renting). The solution was to place them on the side of the desk. The wood is thick enough and we used small nails for the peg boards to be safely secured.
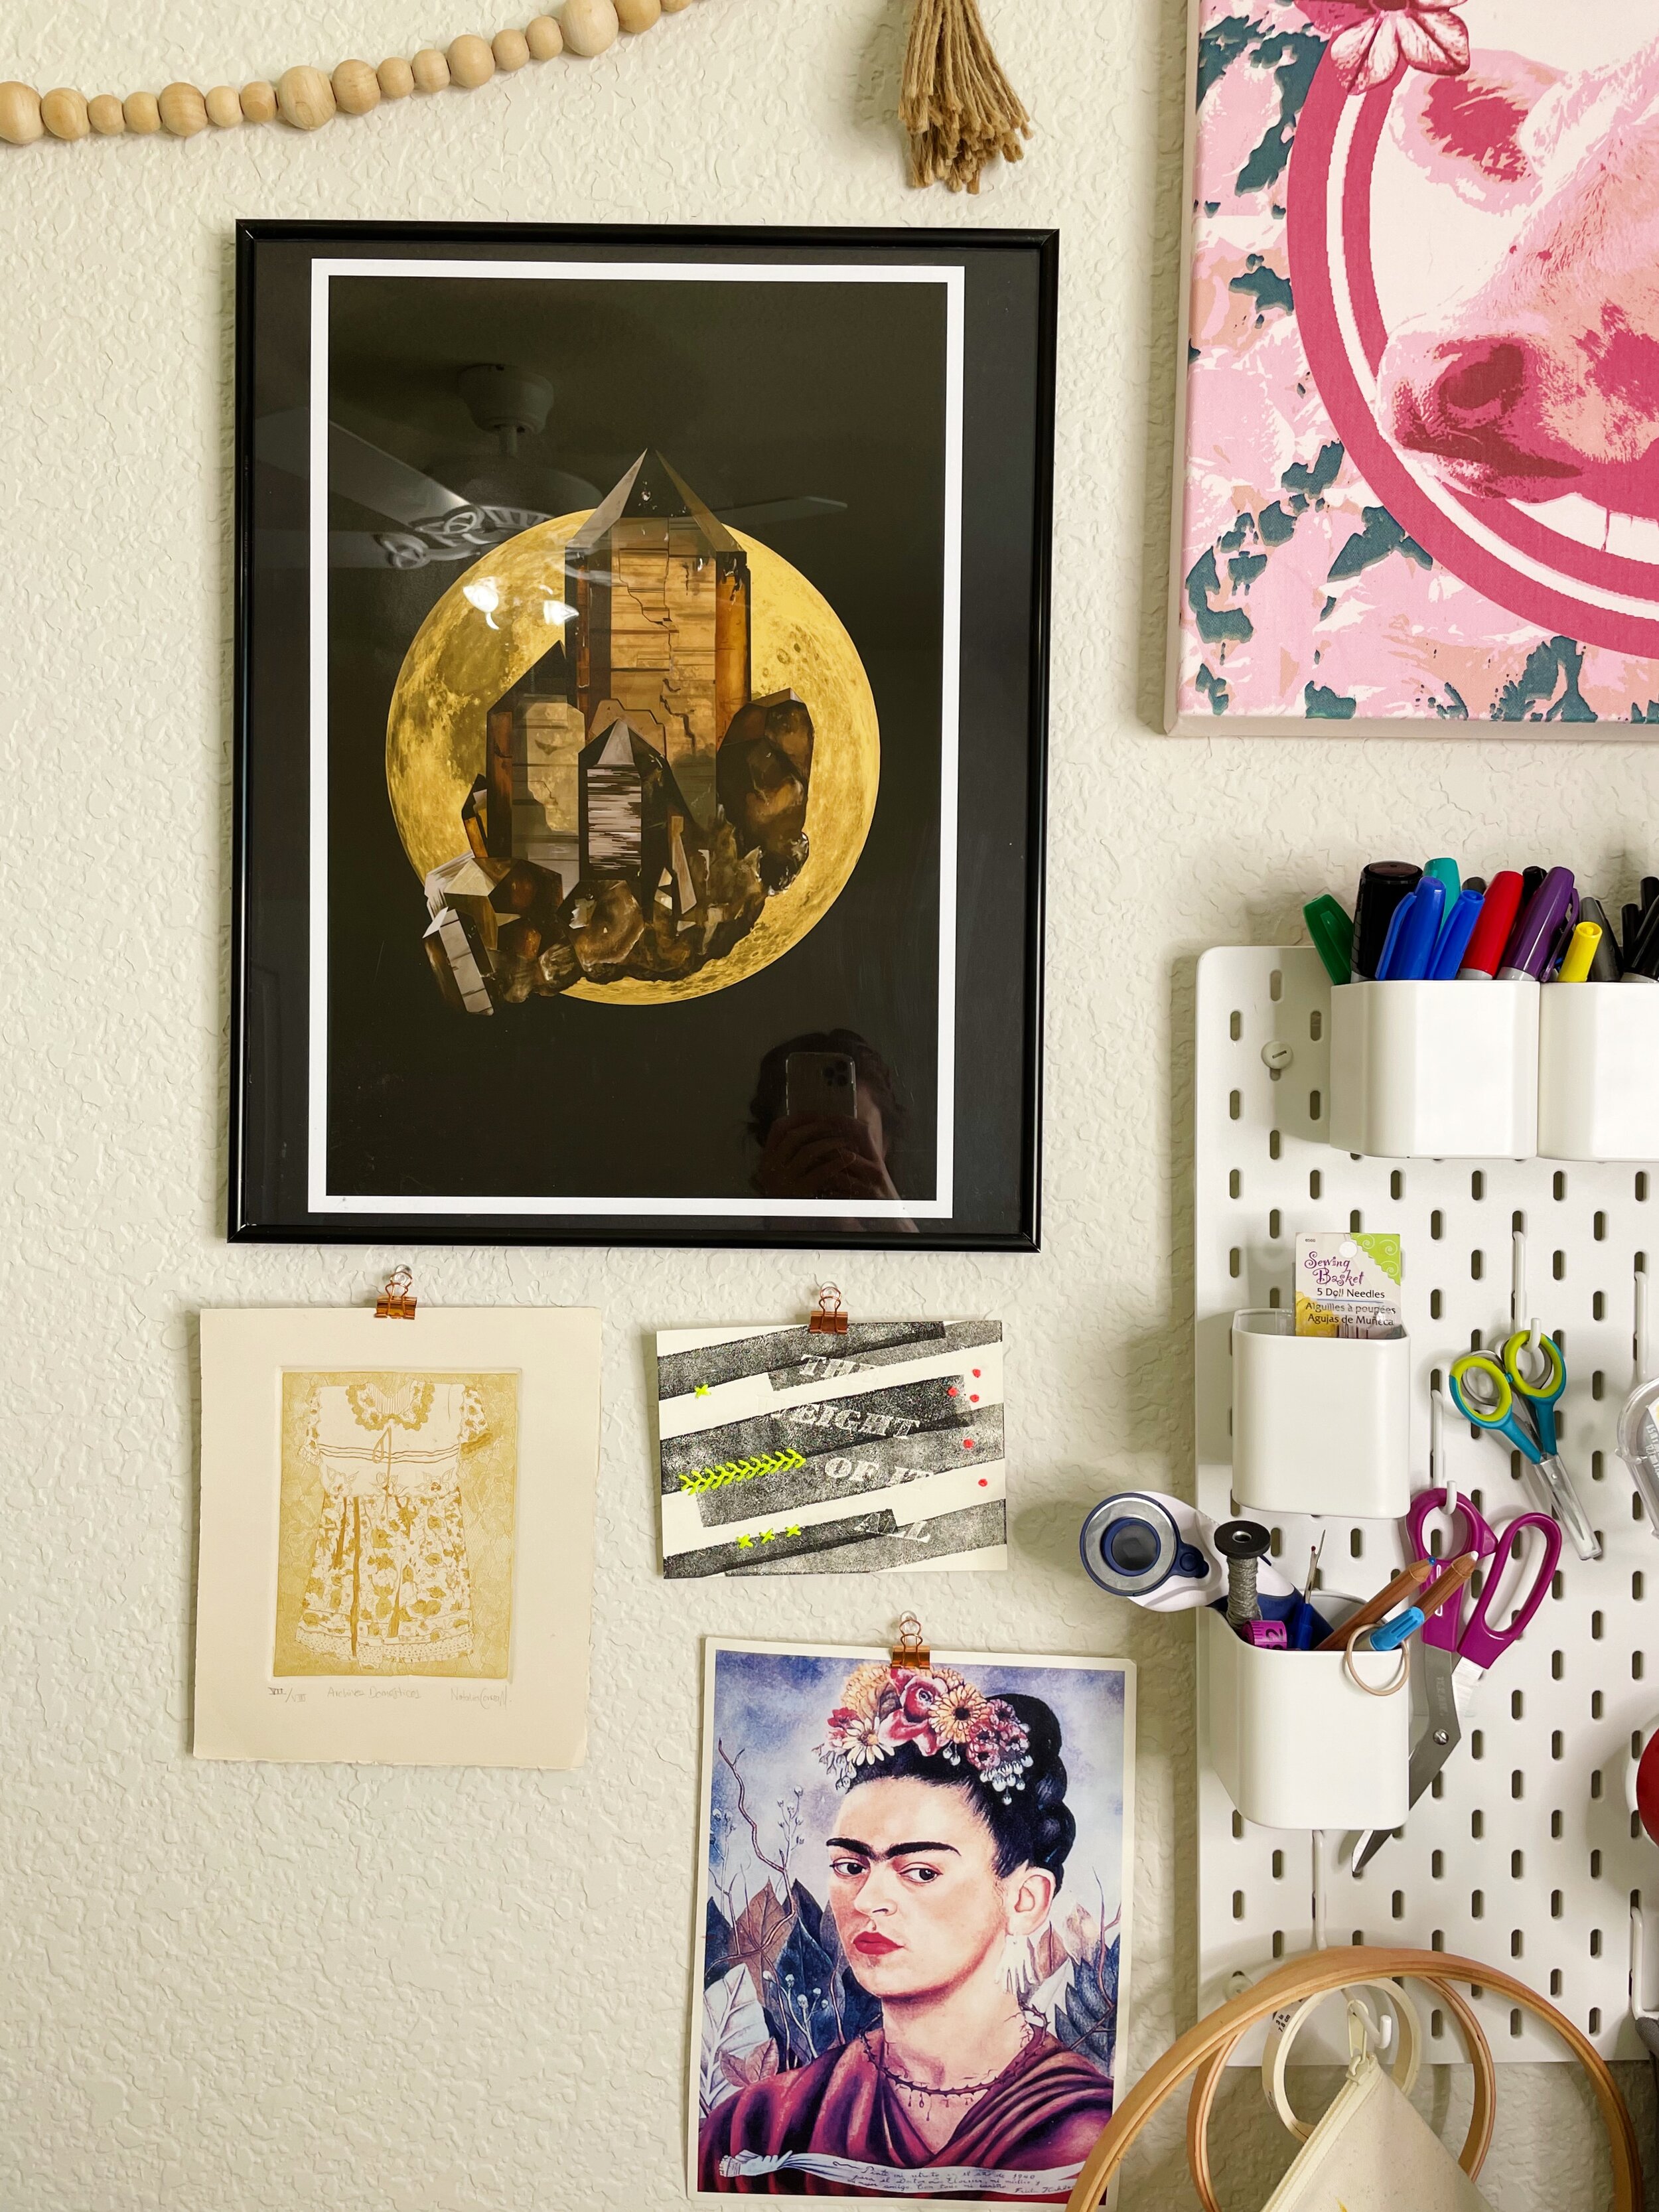
On the left, I added my corkboard with some inspiration and decoration. I left some space blank so that I can add new elements as I discover them in our new home. Would love to add some new local-made art soon! I also have a special polaroid taken with a wonderful friend that always inspires me.

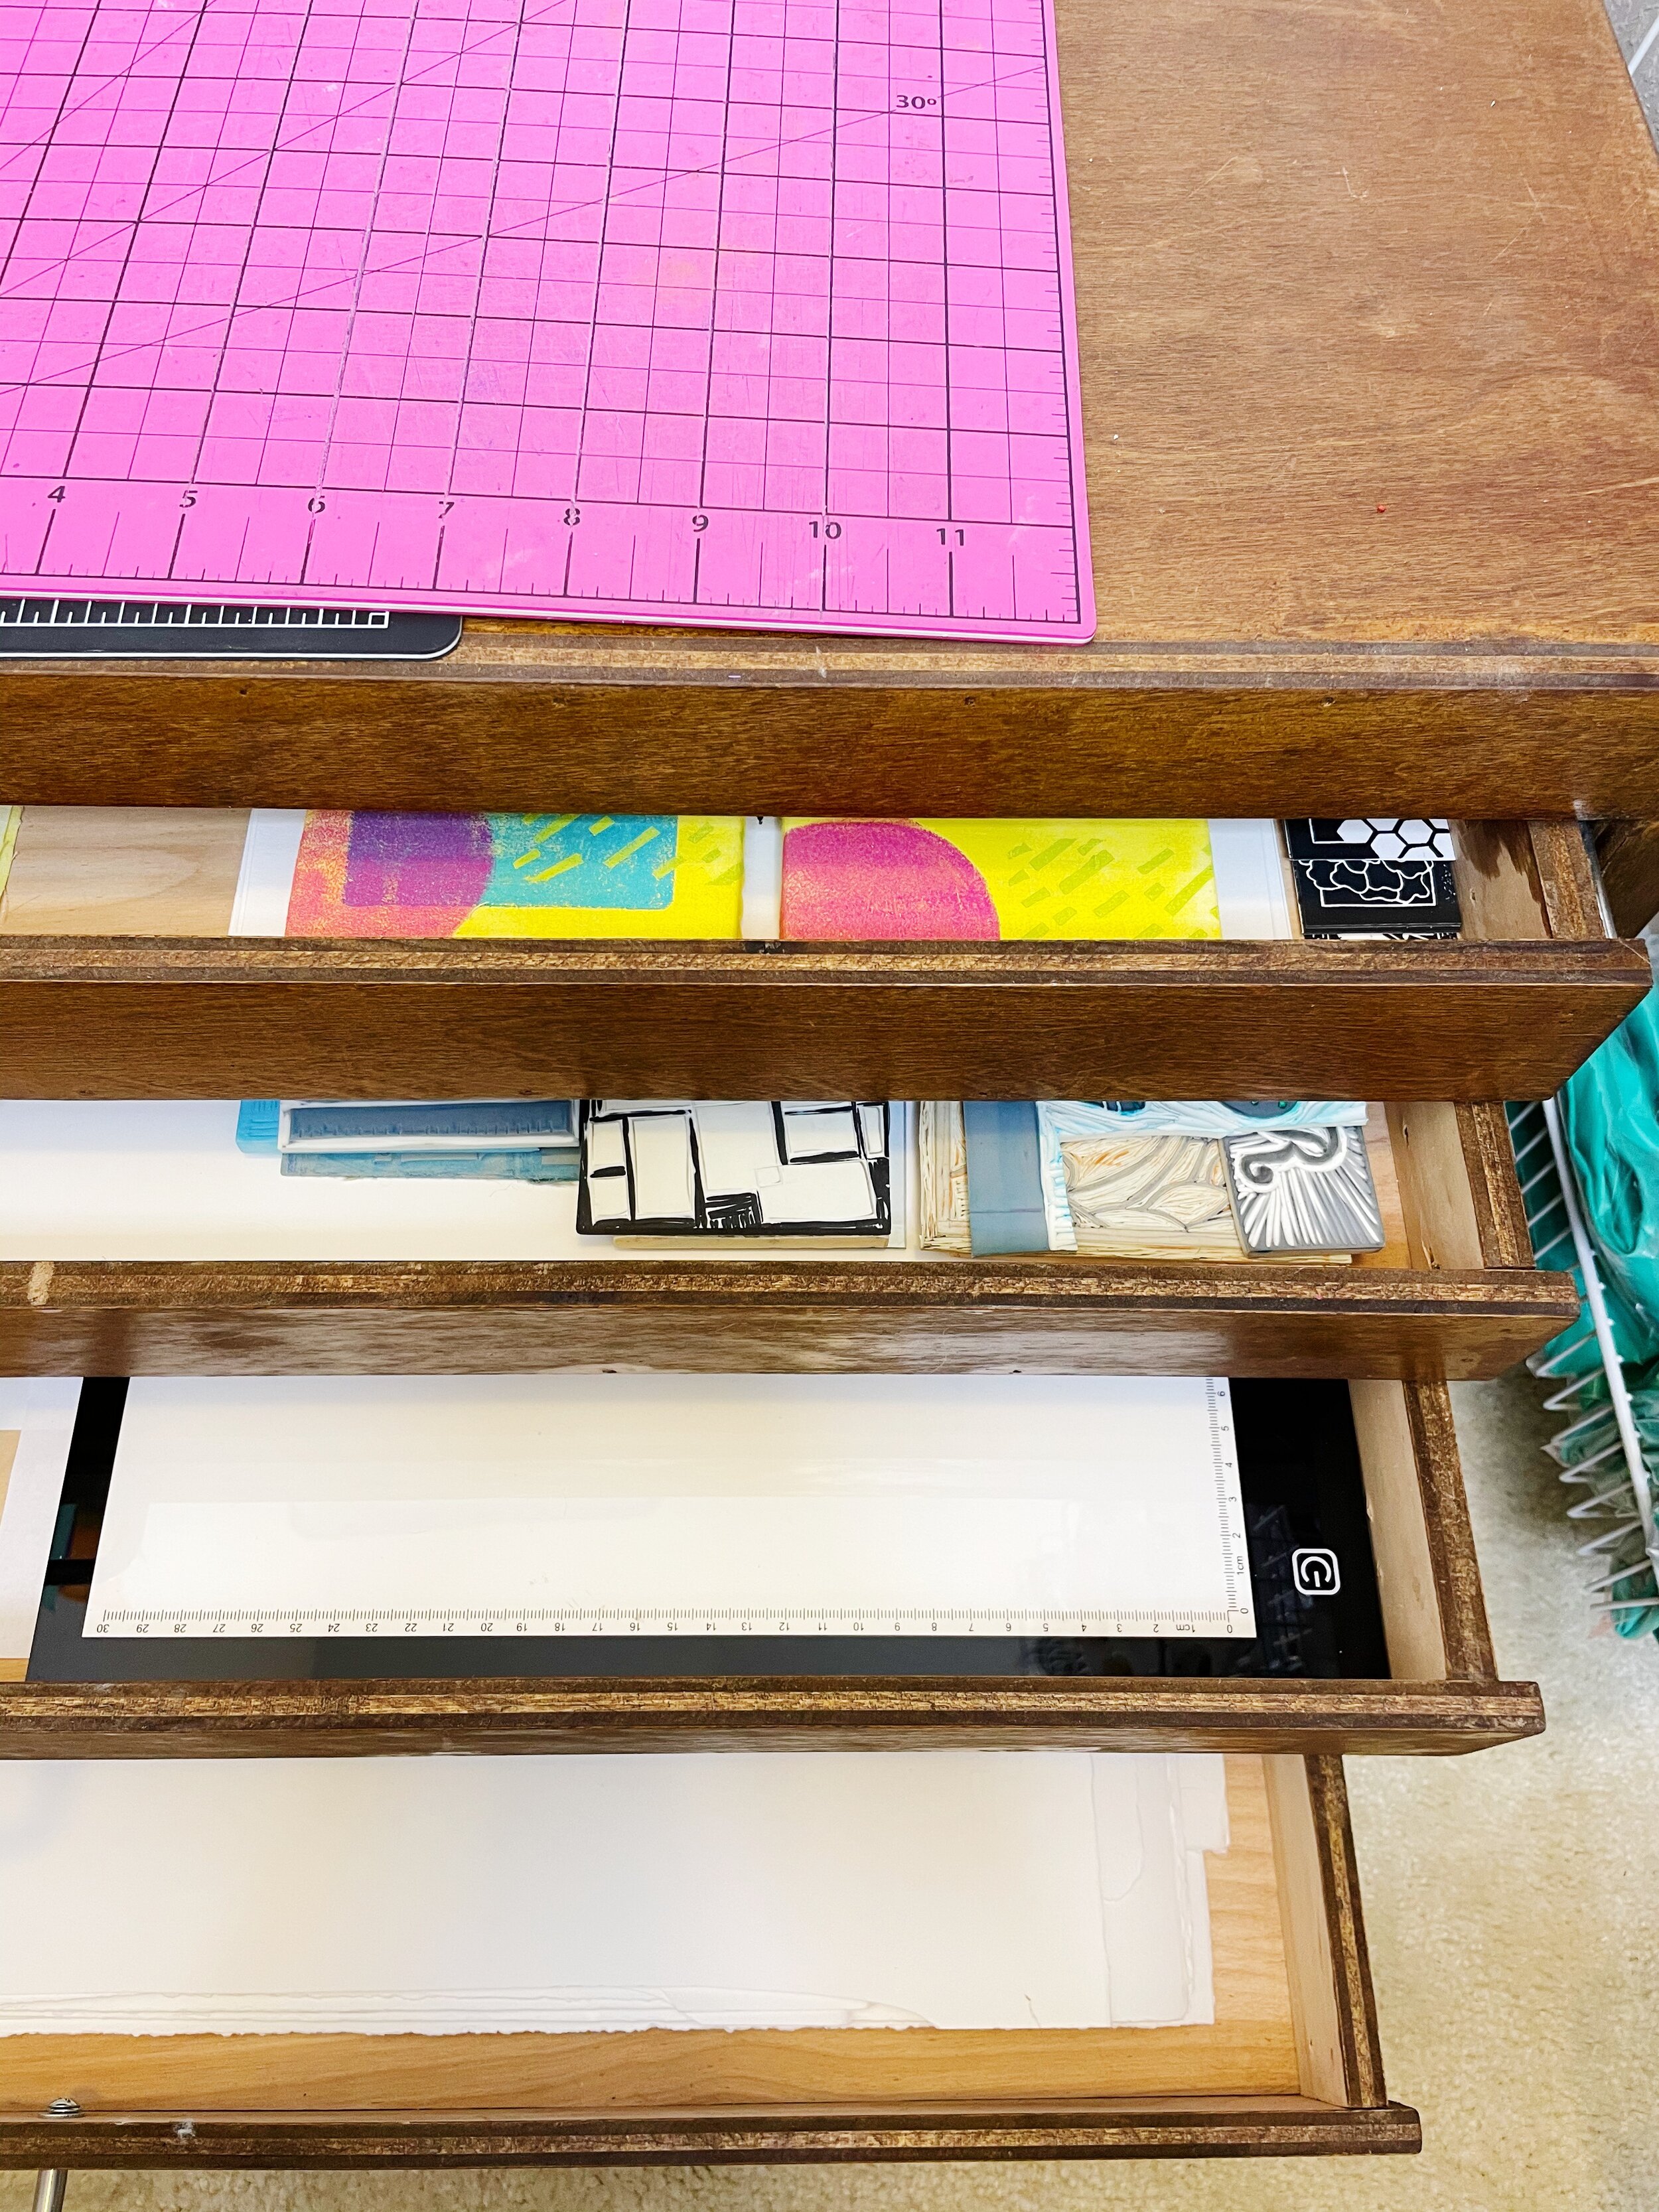
What about the printmaking supplies?
Due to space challenges, I decided to sell my etching press. I love the press and the quality of lines and prints I achieve with it, but I just don't have enough space for it. I will replace it with a different press, ideally a Woodzilla press.
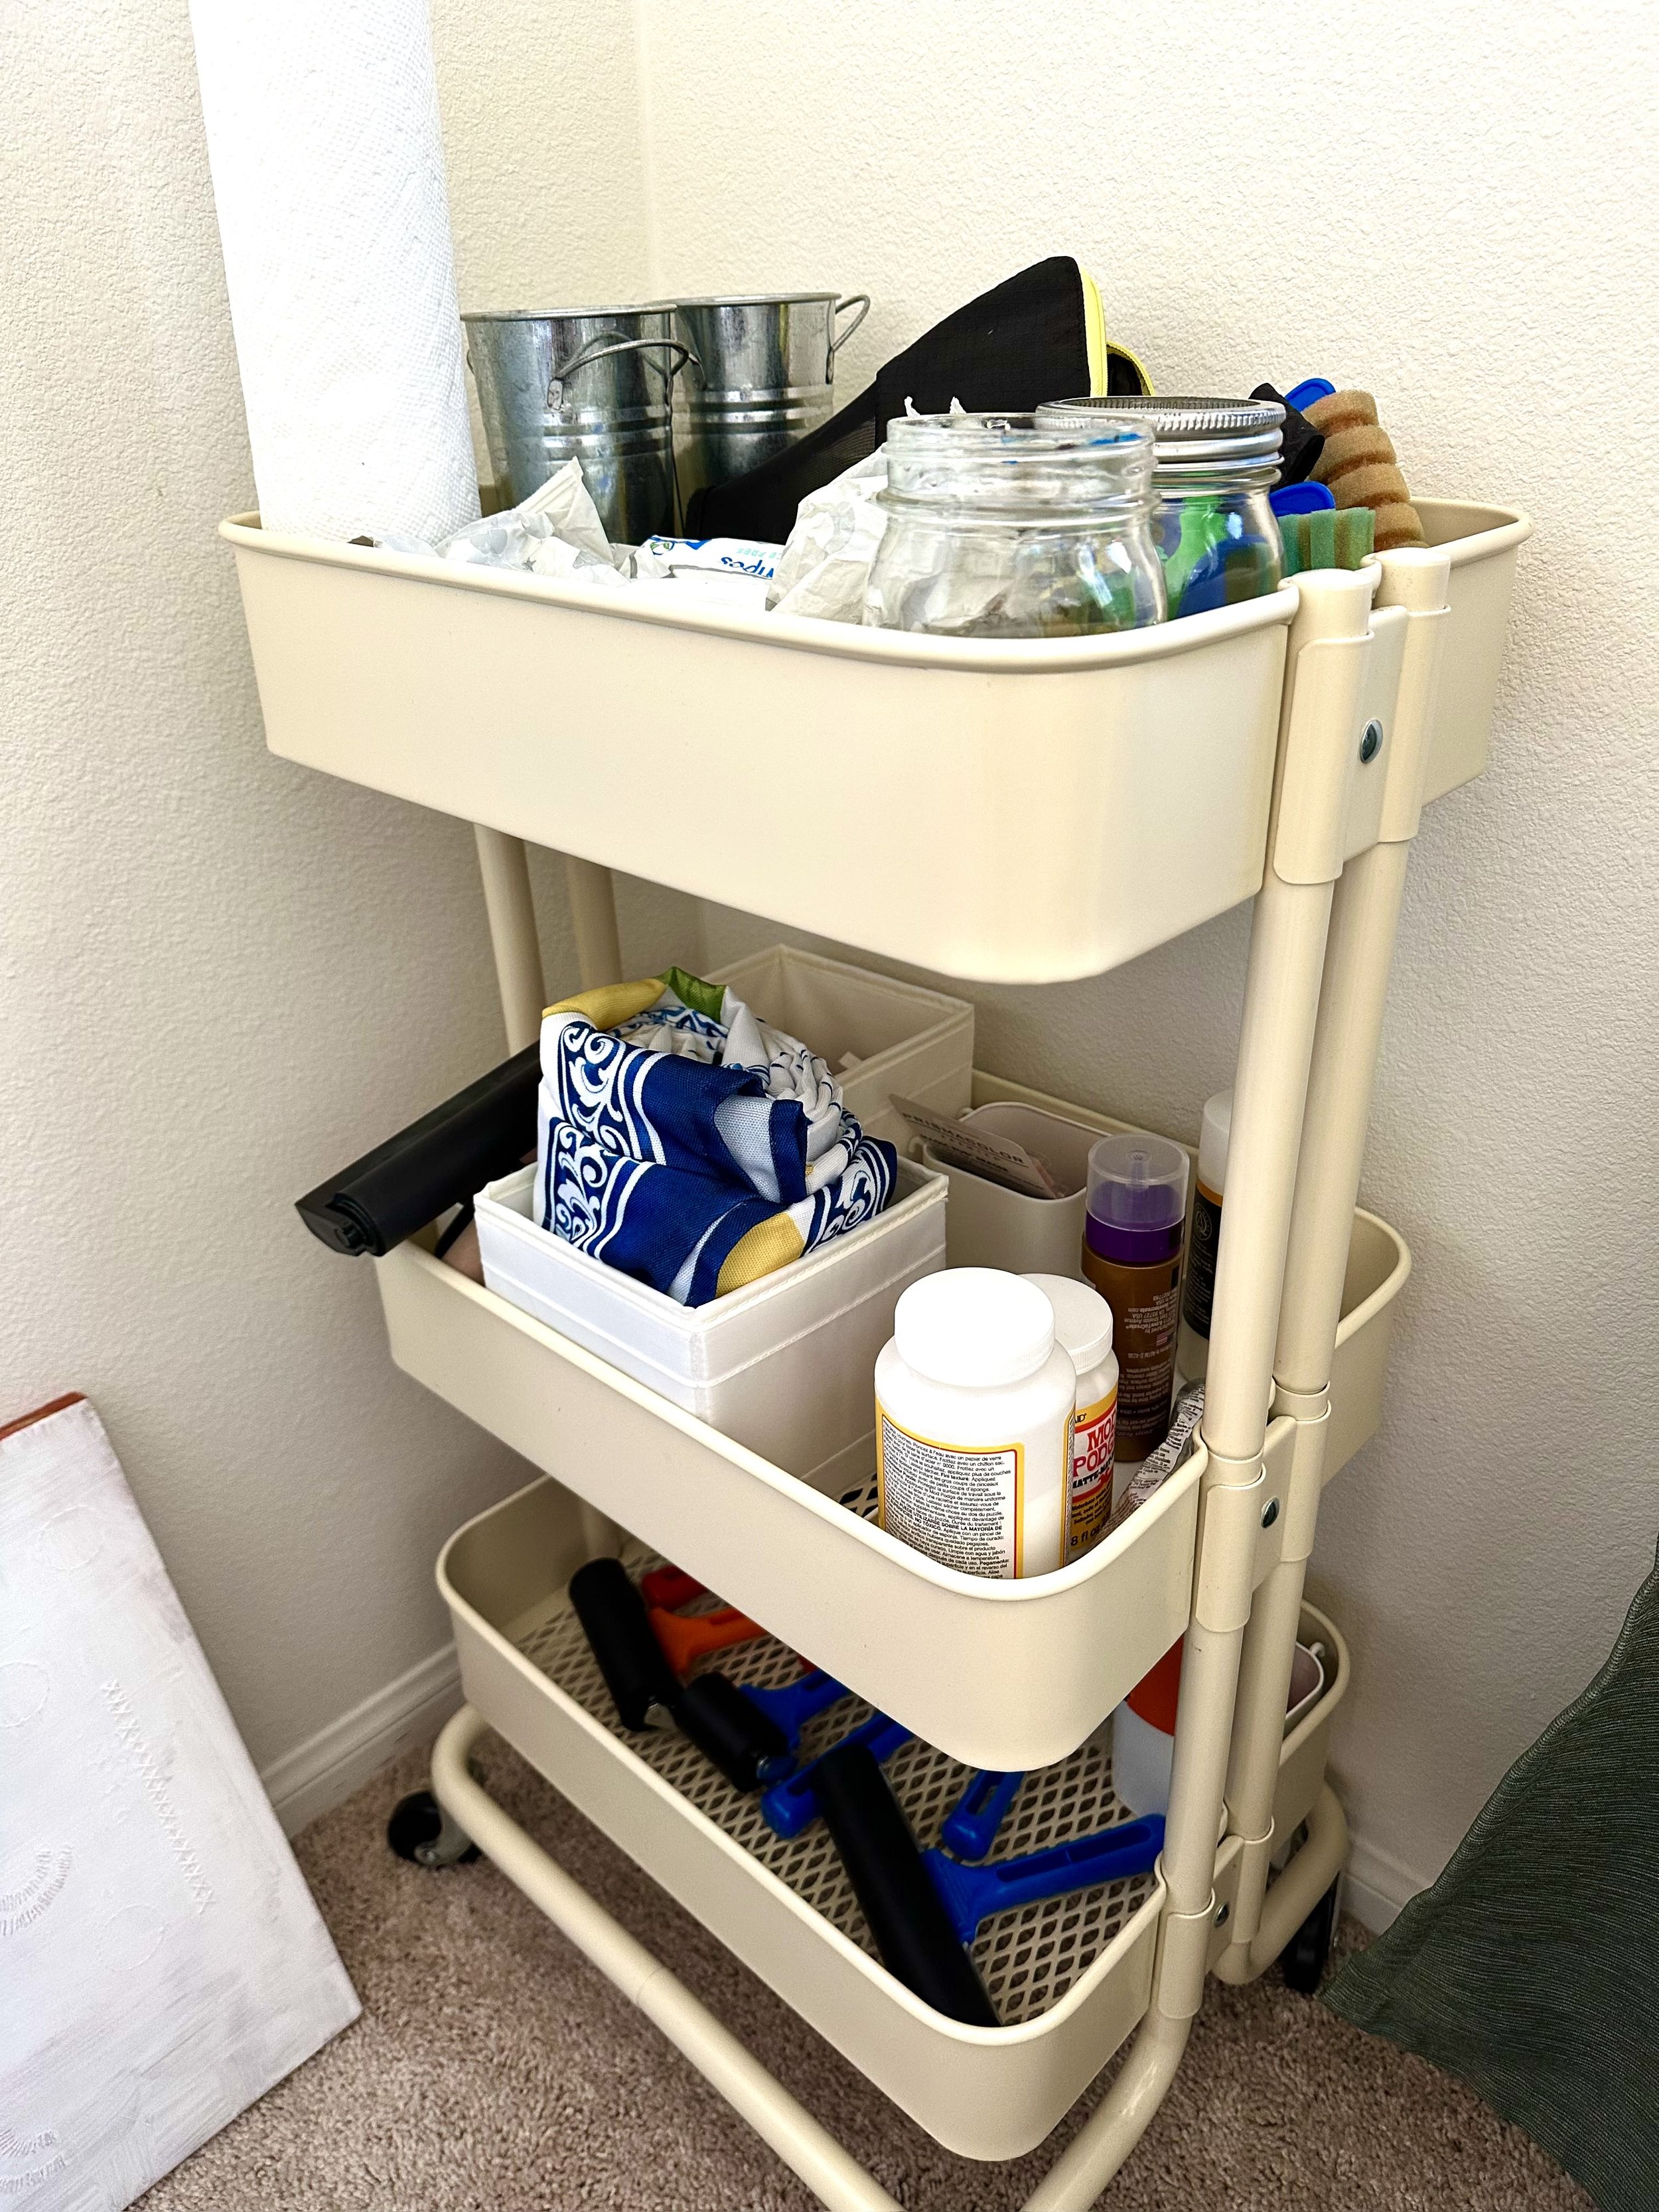
I stole my kid's utility cart to organize supplies. At the bottom, I laid down all my brayers. Because my kid loves stealing them, I have them in a visible place (for me) but a semi-hard to reach (for him).
The middle and top sections store random supplies for artmaking that don't fit anywhere else but that I need to have on hand. These are waterproof tablecloth to make art outside, all the adhesives, water containers, wet wipes, paper towels, and my kid's foam brushes and rollers.
My handy printmaking wooden cart is stored inside the closet. It is on wheels, so I can roll it out whenever I need to use it. I also will place the new press on top of it, keeping the station complete.
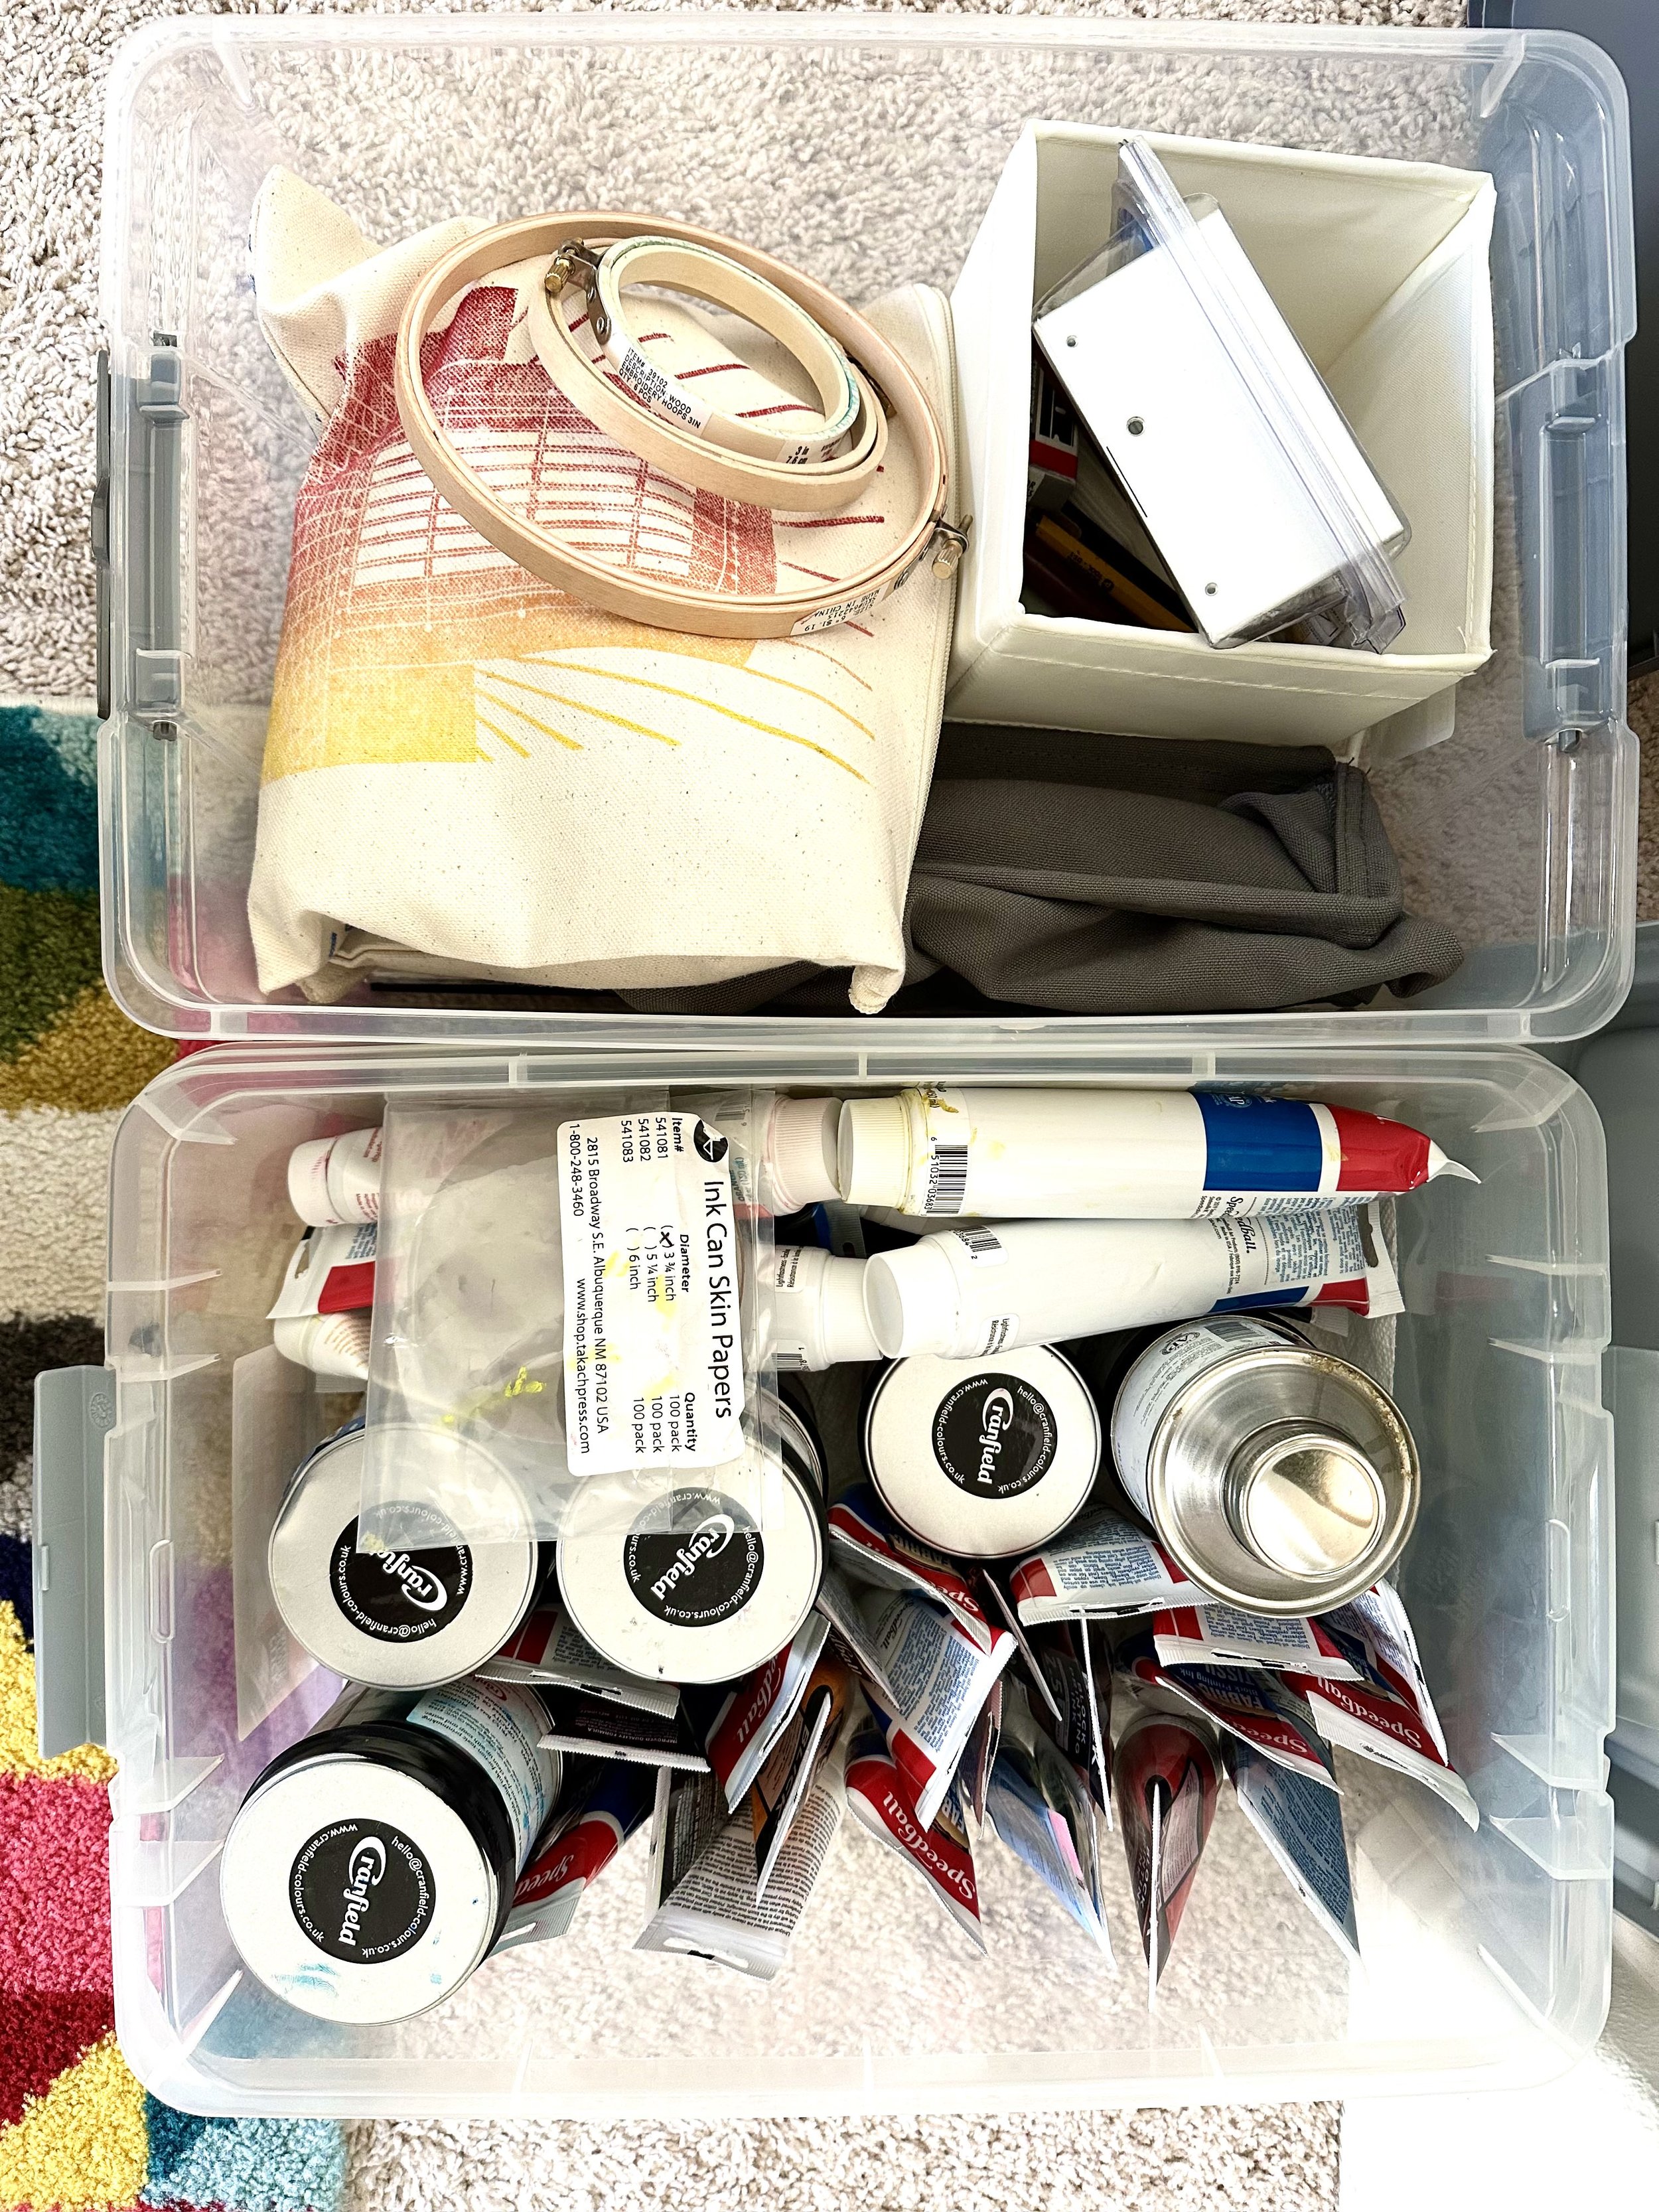
Because I need to make sure the inks are in a secure place, and I can't have them up on the wall anymore, they are stored in a plastic container in the closet. The other container has the embroidery supplies. Organized, safe, and easy to pull out.

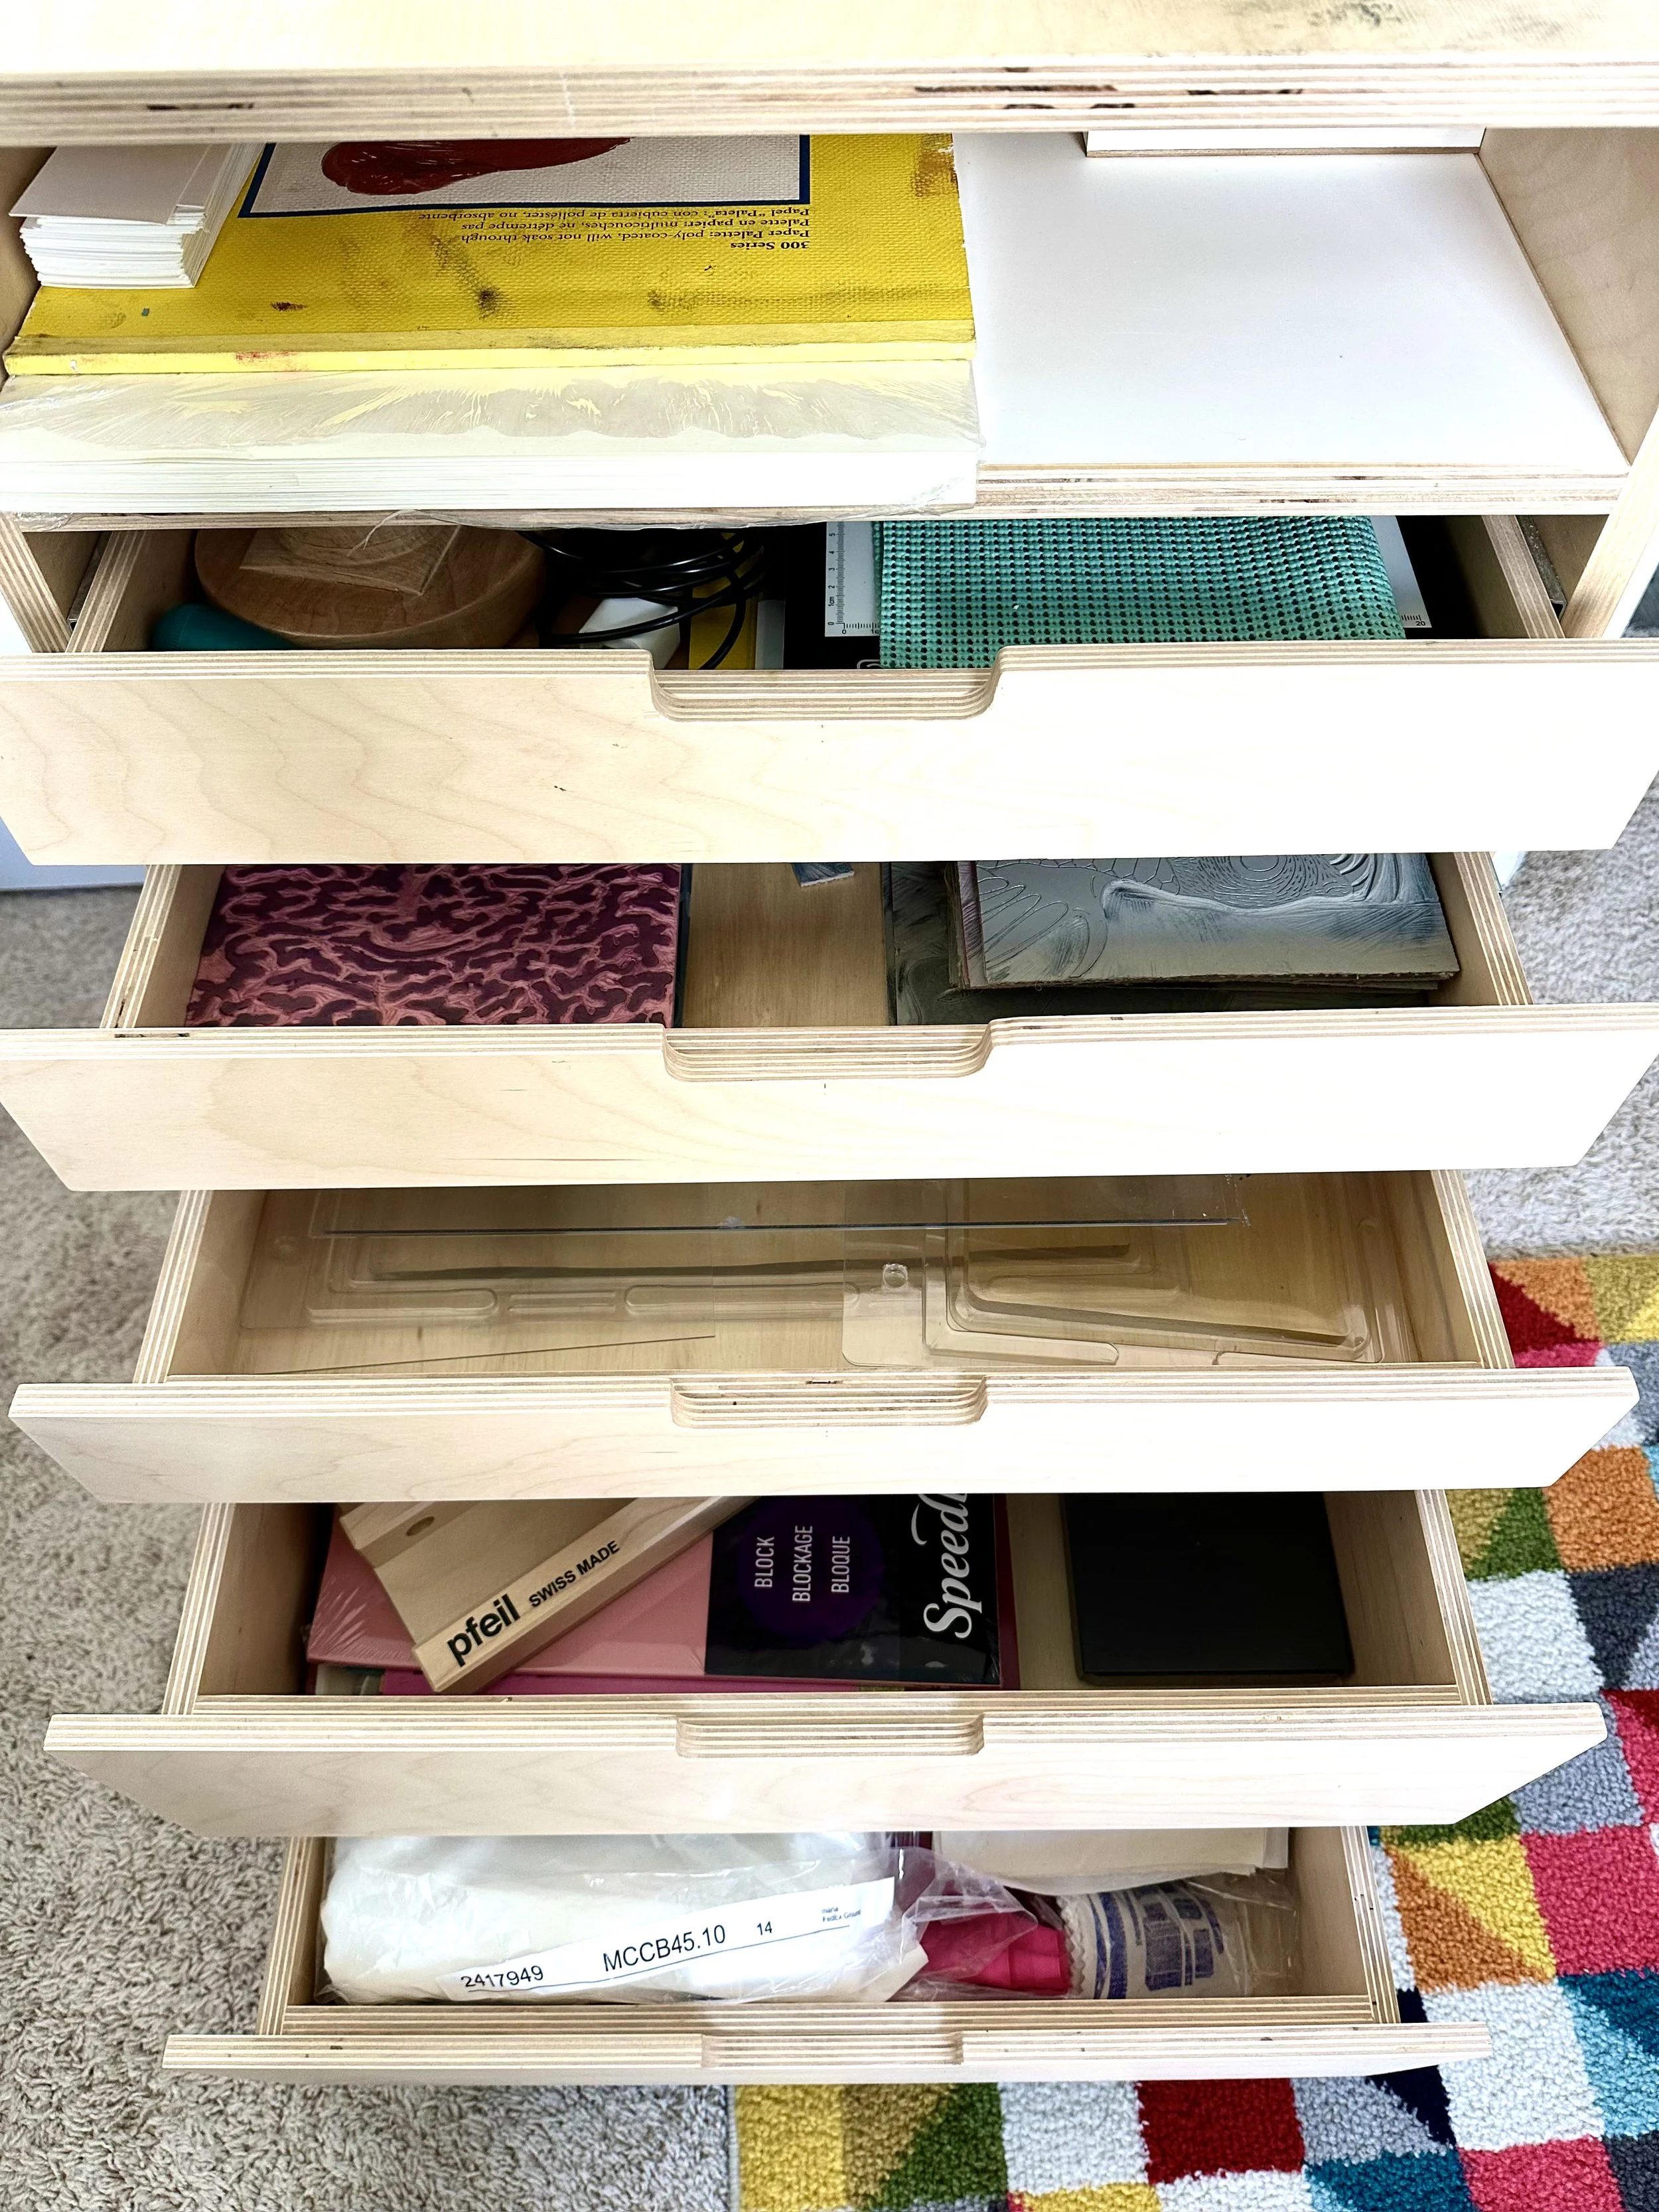
The inside of my printmaking drawer has changed too. It is a little bit more crowded, but I can have all my printmaking supplies in one spot. In addition to the original supplies, I now have a dedicated drawer for my Gelli plates.

Final thoughts
Moving to a smaller studio space has been challenging but also exciting. It has been an opportunity to really think of what I value, what I use, what I want, and things (or art supplies) that no longer serve me or my art practice. It has been fun carving a space for my kid's supplies too!
Having limited space will help me focus on the art-making that I want to keep doing and growing with. I know this is not the last time that my studio will change but I am looking forward to it.